An enthusiastic novice of advancing years, I came to ceramics by chance a year ago.
Hugh PArker
hugh_parker@5pproductions.com
An enthusiastic novice of advancing years, I came to ceramics by chance a year ago.
hugh_parker@5pproductions.com

So new pots – top left galena effect which I had hoped it would be more silvery. It’s a difficult glaze and I have yet to work out how to consistently get the best out of it.
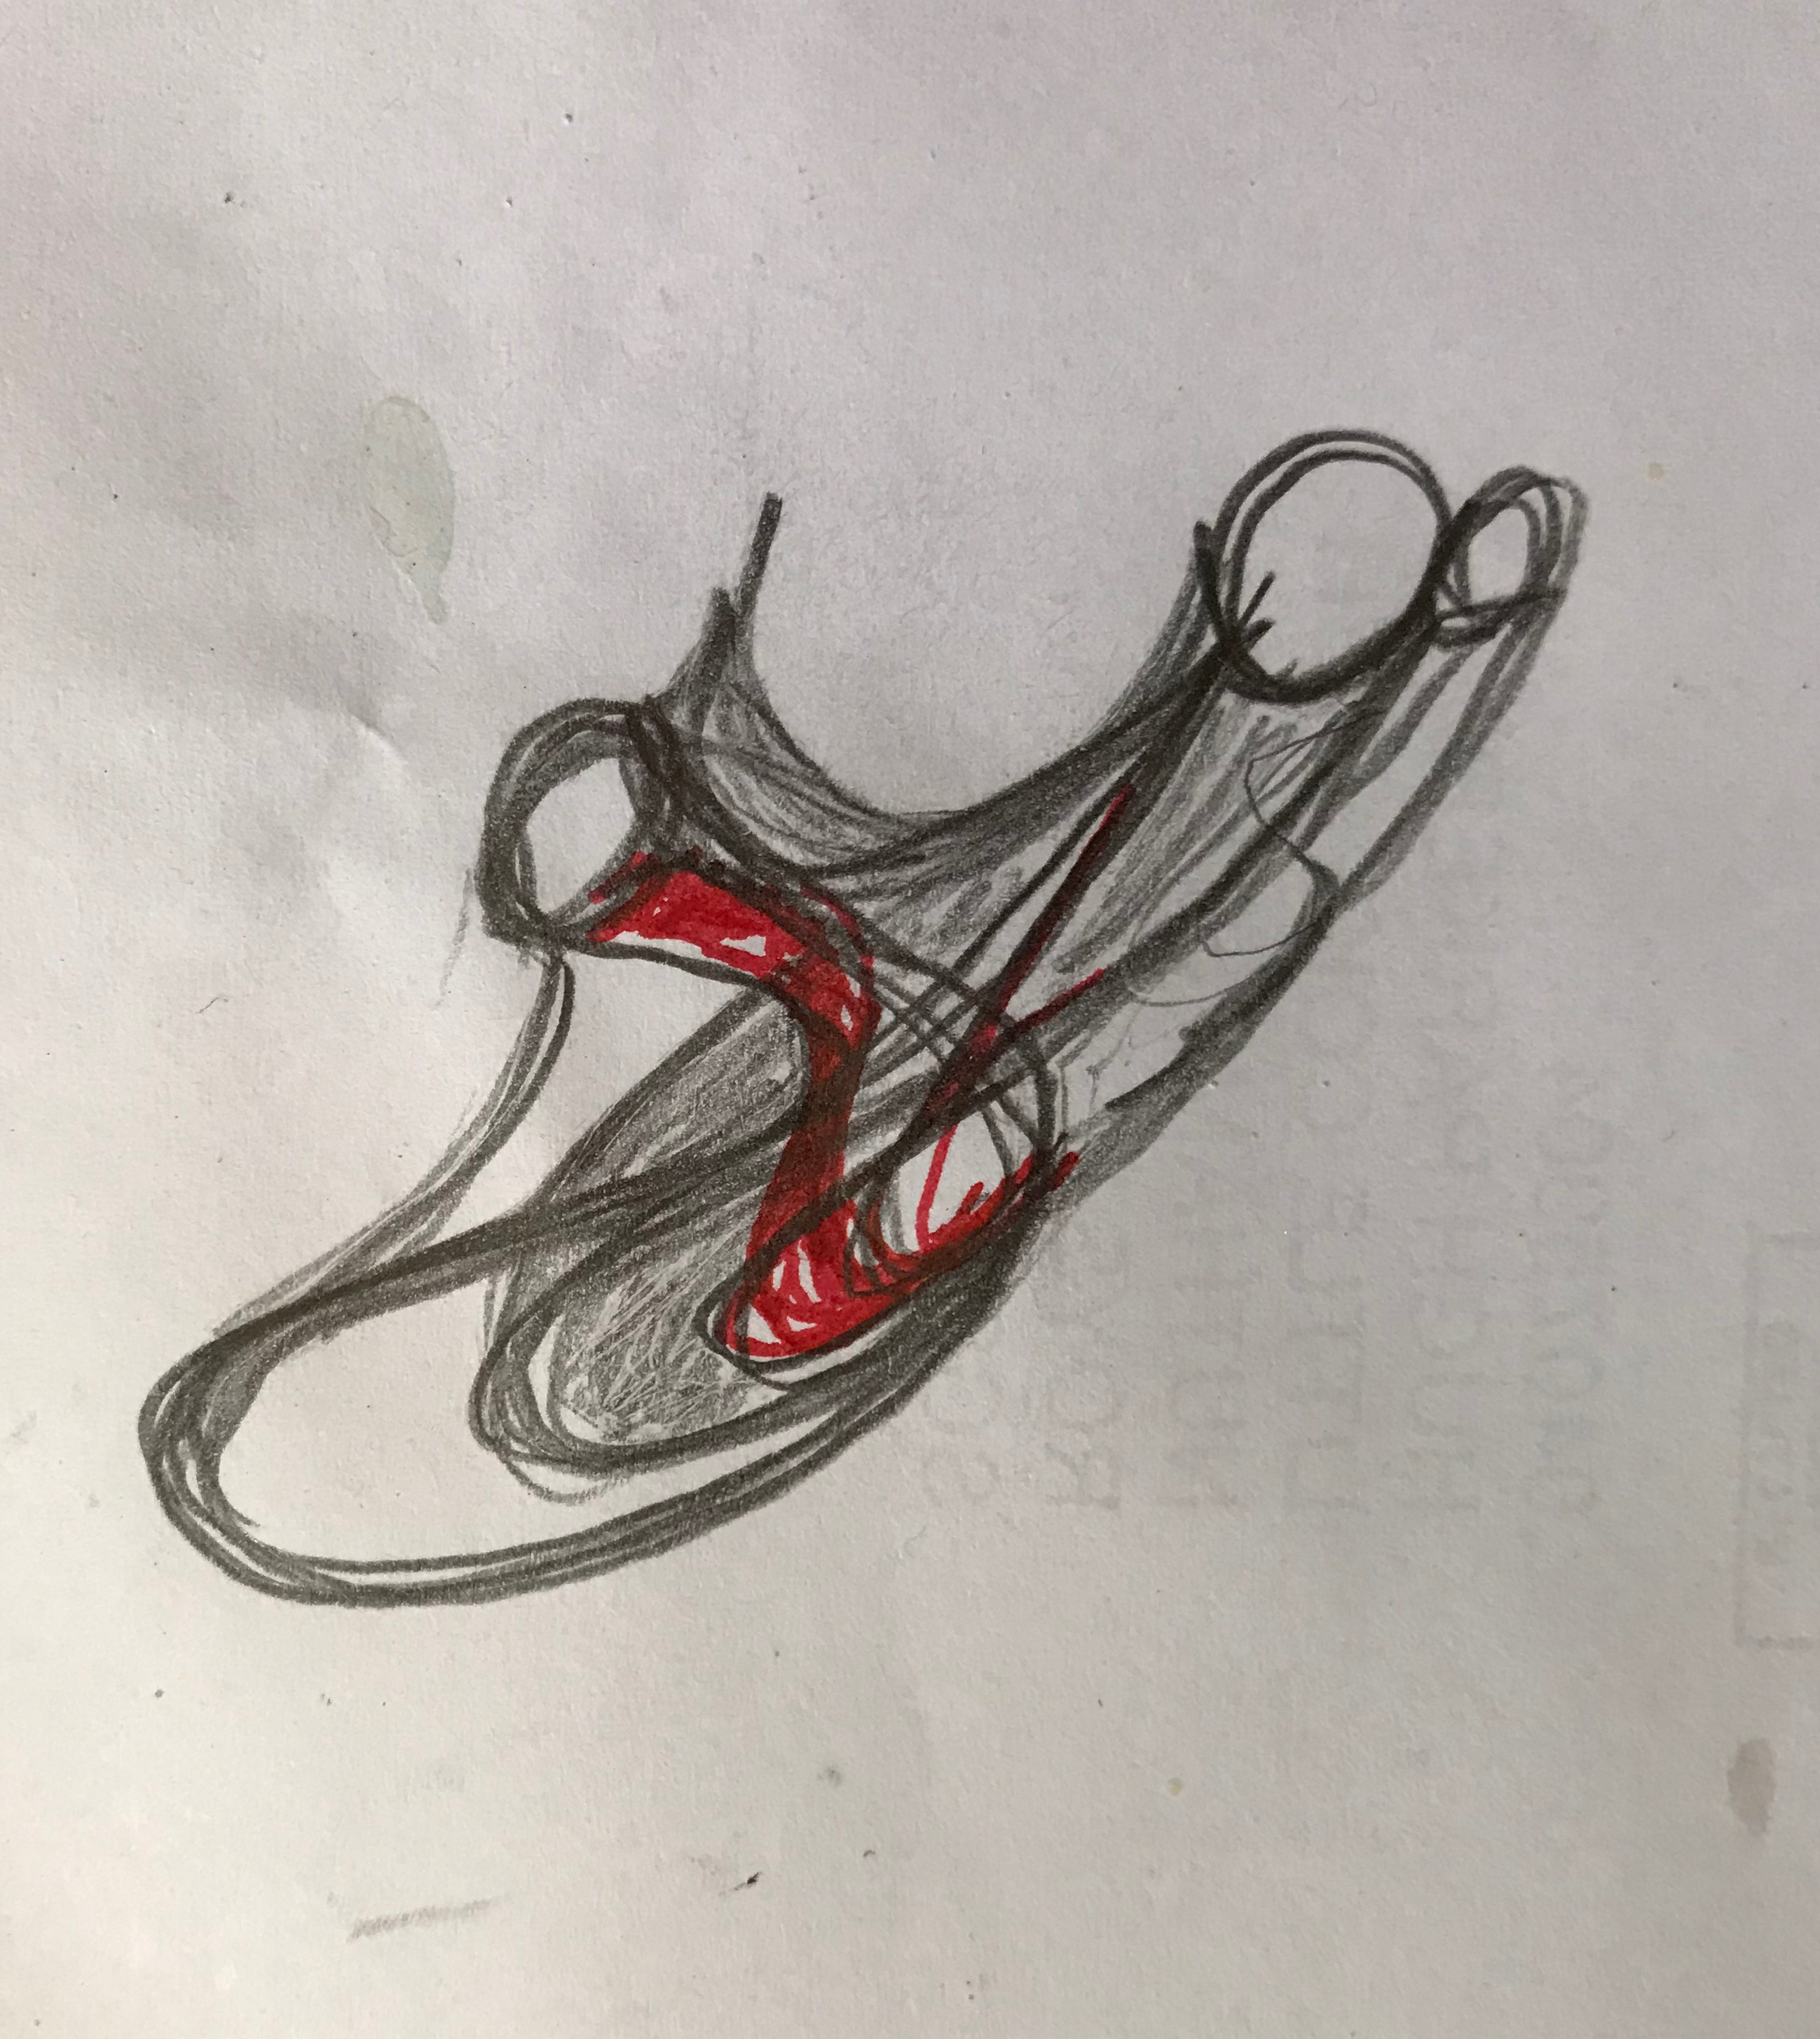
The bizarre structure on the right takes inspiration from the doodle, bottom right. I wanted to try to take a 2D form into 3D and as you’ll see with limited success. The other difficulty I had was that once built, I couldn’t do anything with it – it wouldn’t stand up – so I wrapped it in a bag so it could, at least in theory, perform some useful function. The glazing has got a bit mucky here and there so I think some remedial reglazing is required.
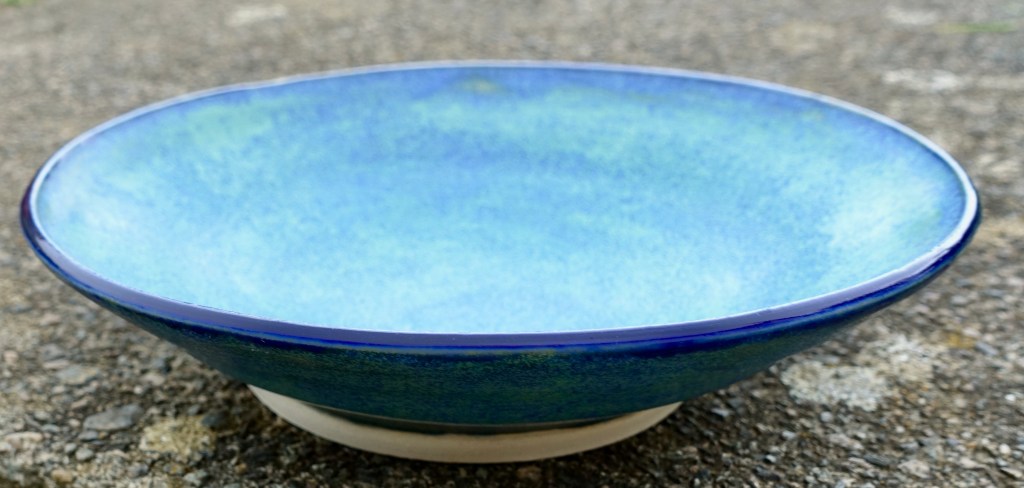
Bottom left is the hand-built pot, finished on the wheel and has come out nicely light with a great glaze – a combination of blue rutile outer and a satin oribe inner.
There’s more to go into the kiln but it’ll have to wait more productivity to make firing it up an economic proposition.


So after a break and a false start, pots are beginning to emerge again. These two are from a series of three, the third awaiting firing. So the double tier pot uses new glazes, Lime Shower and Blue Green. Blue green internal with the top tier Lime shower layered over Blue green – still making my mind up about that. Shardesque II is the sequel to Shardesque, made from the same mould but didn’t finish up quite as I’d hoped. The intention was for a red and silver internal but the silver (the cause of all the problems previously) was used as the internal glaze so that it running wouldn’t be an issue. However, it just went brown/black not a trace of silver on exactly the same kiln programme as previously.
In the works is a bowl using more new glazes, a 3D doodle, a hand-built, wheel-finished, textured pot, a lidded bottle and a gash bowl. I’ve made several attempts at bigger pots but centring properly for large amounts of clay has let me down and the clay is being recycled!
These two are the survivors of a kiln disaster! The silvery glaze on the left is a fantastic glaze but it runs. I did know that and so as a precaution I put it on a tile. What I didn’t know was that if you use a roof tile it boils at <1200 C. The result that greeted me when I opened the kiln was very dramatic; a solidified mass of weird bubbly gloop all over the kiln shelf and dripping onto the kiln floor. I didn’t have the heart to record the full horror but I suppose following the premise of my blog, Triumphs & Disasters, I should have done. The pieces I’d fired had come to rest at peculiar angles still attached to the now solidified mass. A hard lesson learnt!
I was able to remove the material from the kiln floor without too much damage but the kiln shelf was a right-off. The next job was to chip off the residue from the pots which resulted in the lid inner becoming detached, well broken actually. I have now replaced it with a wooden bung to hold the lid in place. The outcome of some considerable time spent grinding the residue from these two pots can be seen in the top right photo. So the fronts and sides were spared and just the backs retain the evidence of my mistake as a useful reminder.
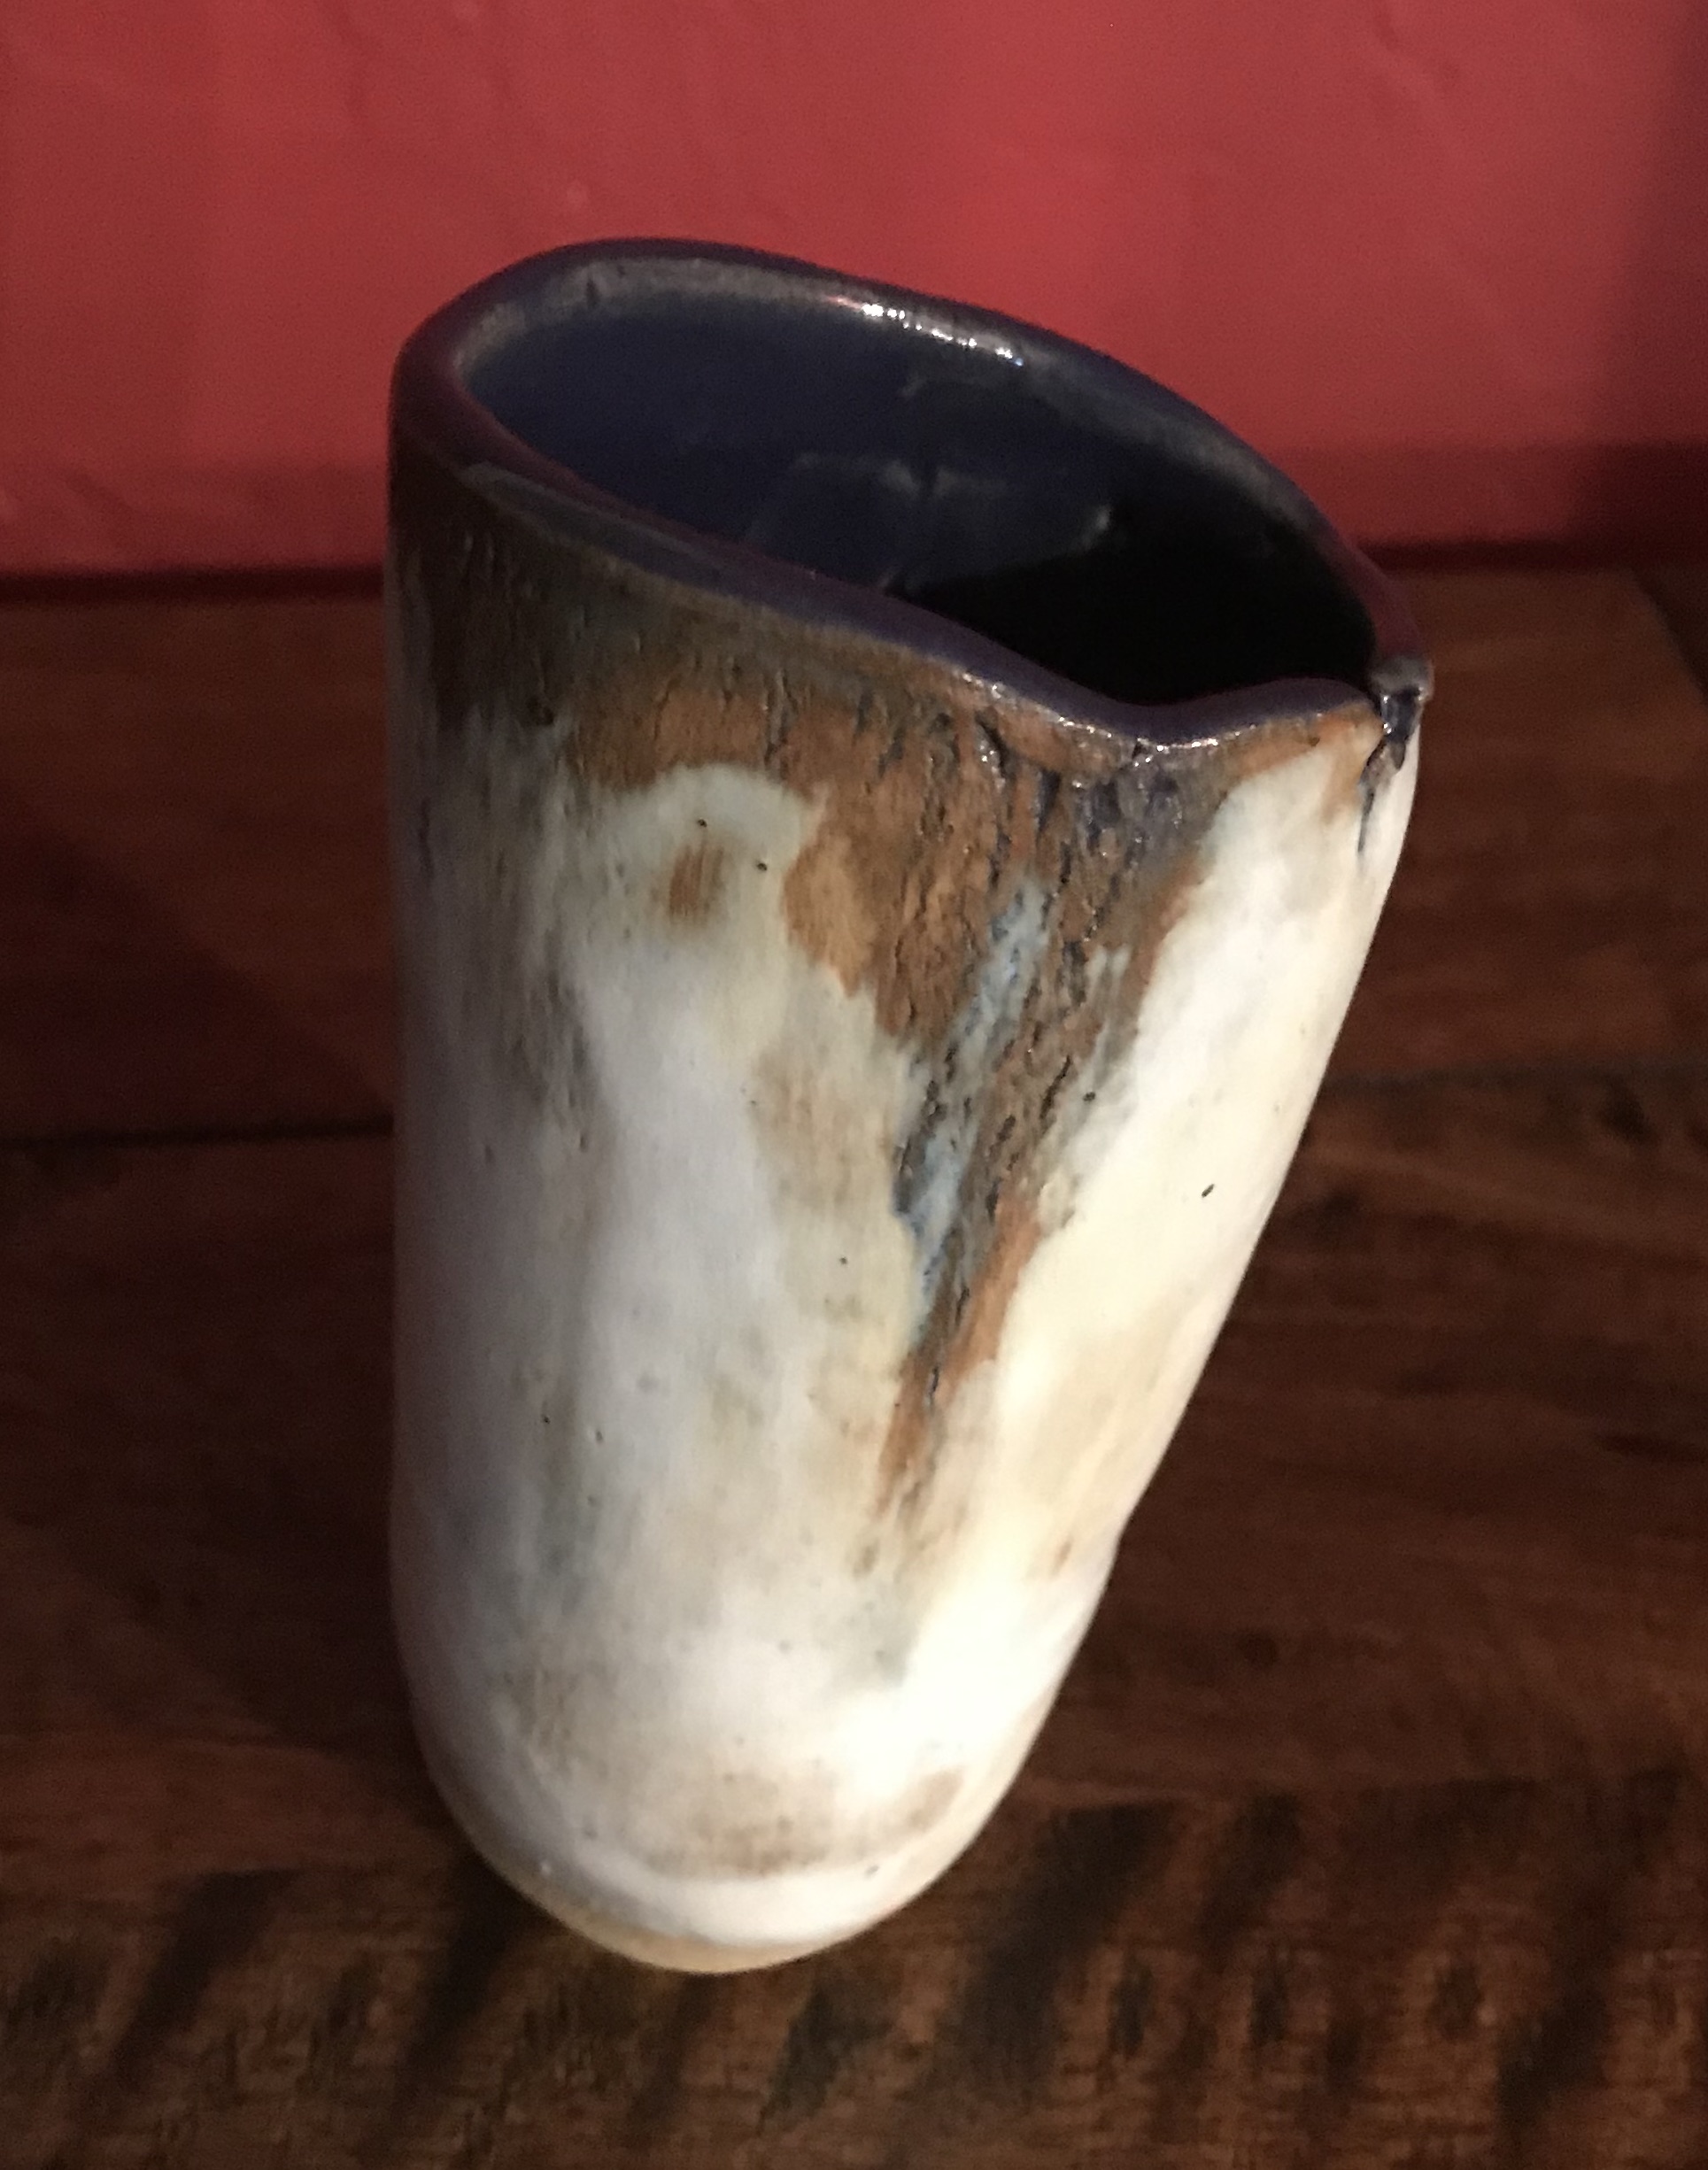
Better success with this next pot which was initially Shipwreck on a white clay body but came out a bit dull. A second glazing and firing with a Laguna mix overlain with Midnight Rain produced a stunning result but regrettably not shown to its best here but very pleasing.


It’s been a while since I posted anything here. Partly because my atelier was freezing over the winter and other projects got in the way during the summer. Now I’m on the move again with renewed interest and ideas. Meanwhile, here are some of the pots produced during the interregnum.


A selection of pots glazed over the Christmas period: Top, left a bowl using the last of a lavender glaze from the college, darkened with cobalt carbonate on earthstone; centre, an earthen-ware plant pot under-glazed at top and bottom with chartreuse and glazed with semi-transparent Spring green; bottom left hand-built plant pot – a reserve in case the plant didn’t fit in the first (Lagoon base with Shipwreck over the top) and the surprise of this crop, a bright red glaze paired with Midnight rain. The surprise was that after using this glaze on top of a flat charcoal, when the result was an almost black midnight blue, I expected a similar colour here – a black and red design. What I got on the white earthstone was bright blue!

What began as another disaster has turned out pretty well in my estimation – almost a triumph! Top left is the aftermath of a pottery disaster when, having joined two hand-built hemispheres and fashioned the top half into a pleasing globular bottle shape, it began to change shape, almost imperceptibly, in front of my eyes as the top part slowly sank into the bottom half. Too much water, clay too thin and too much weight – it was irretrievable. So the top half was ripped off and can be seen in the background while the bottom half was attacked with a surform and sandpaper to smooth out the major glitches, fired to biscuit and then glazed (top middle and right). I used Midnight Rain on the outer rim and probably should have put more on to get it to flow.
I have a similar issue with the little blue pot (bottom right) which has Shipwreck around the rim and while the pot turned out as per the design spec., the rim should probably have had more glaze to make it a little more dramatic – next time.
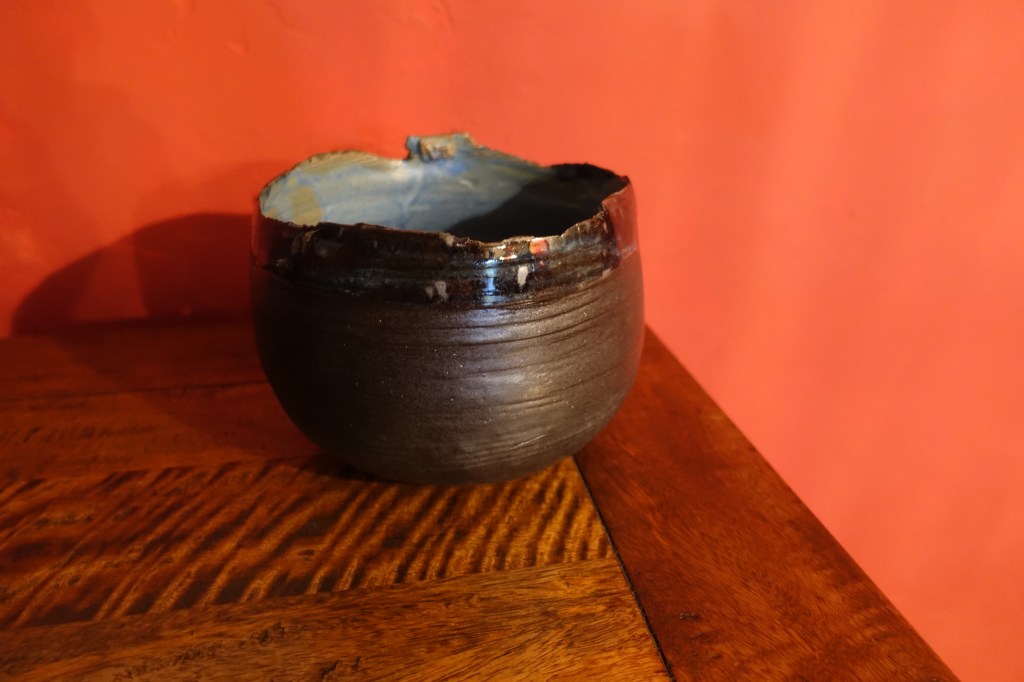
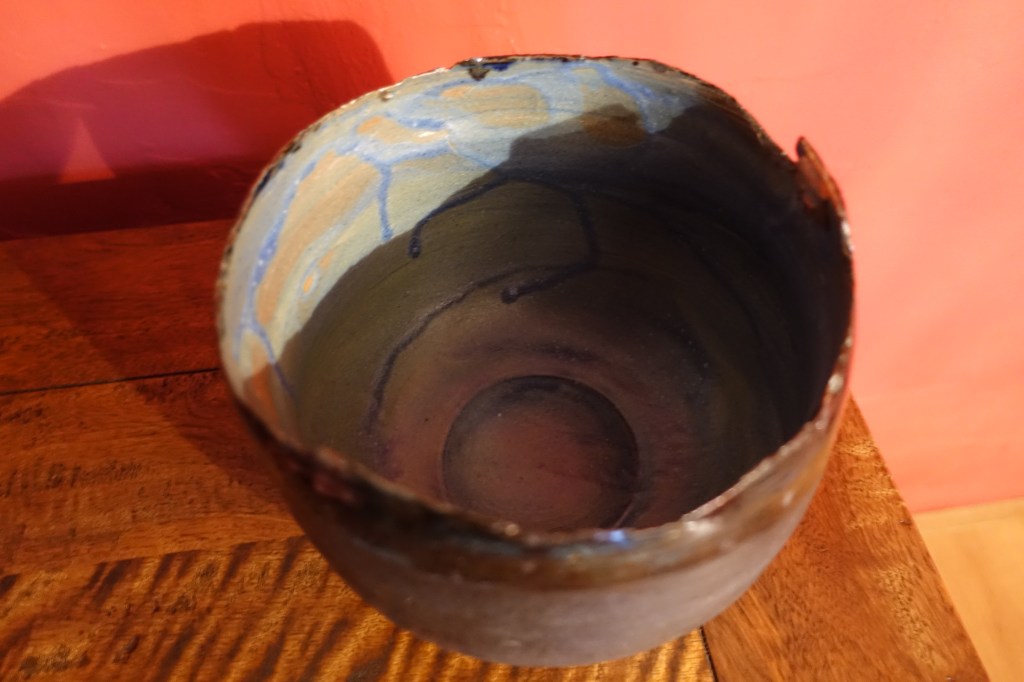
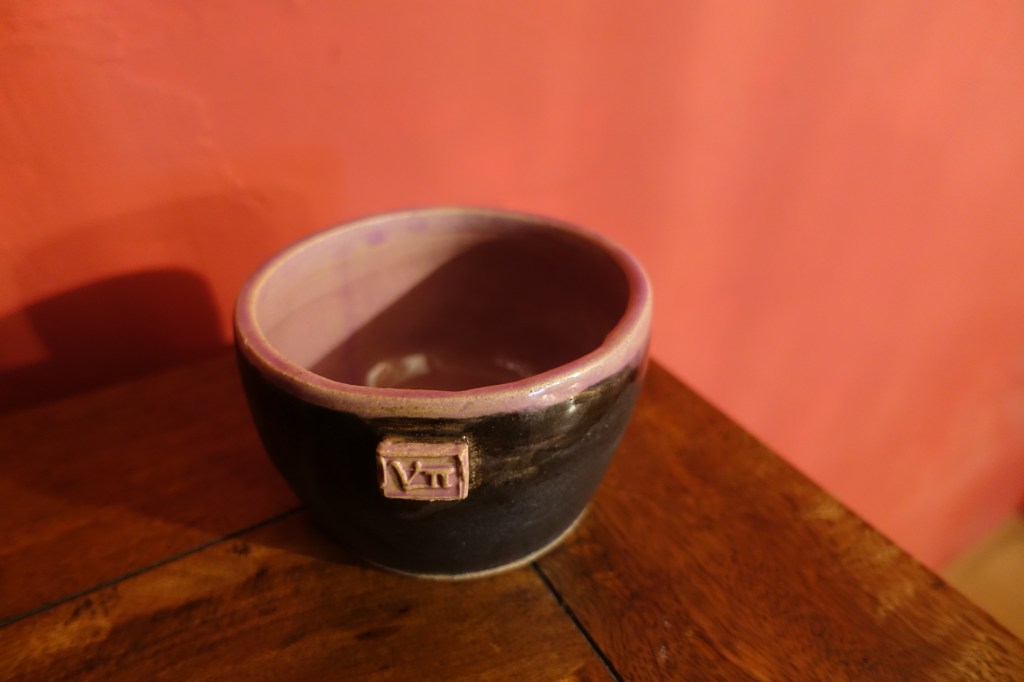
The black, and supposedly purple, pot was disappointing. One, because the purple is quite pink and under-glazed and two, because I let they purple glaze run onto the outside and glazed over the top of it. In places the purple/pink has broken through the flat black but in any case it has turned the matt black into an unintended, gloss finish. This one may be a candidate for a re-glaze.

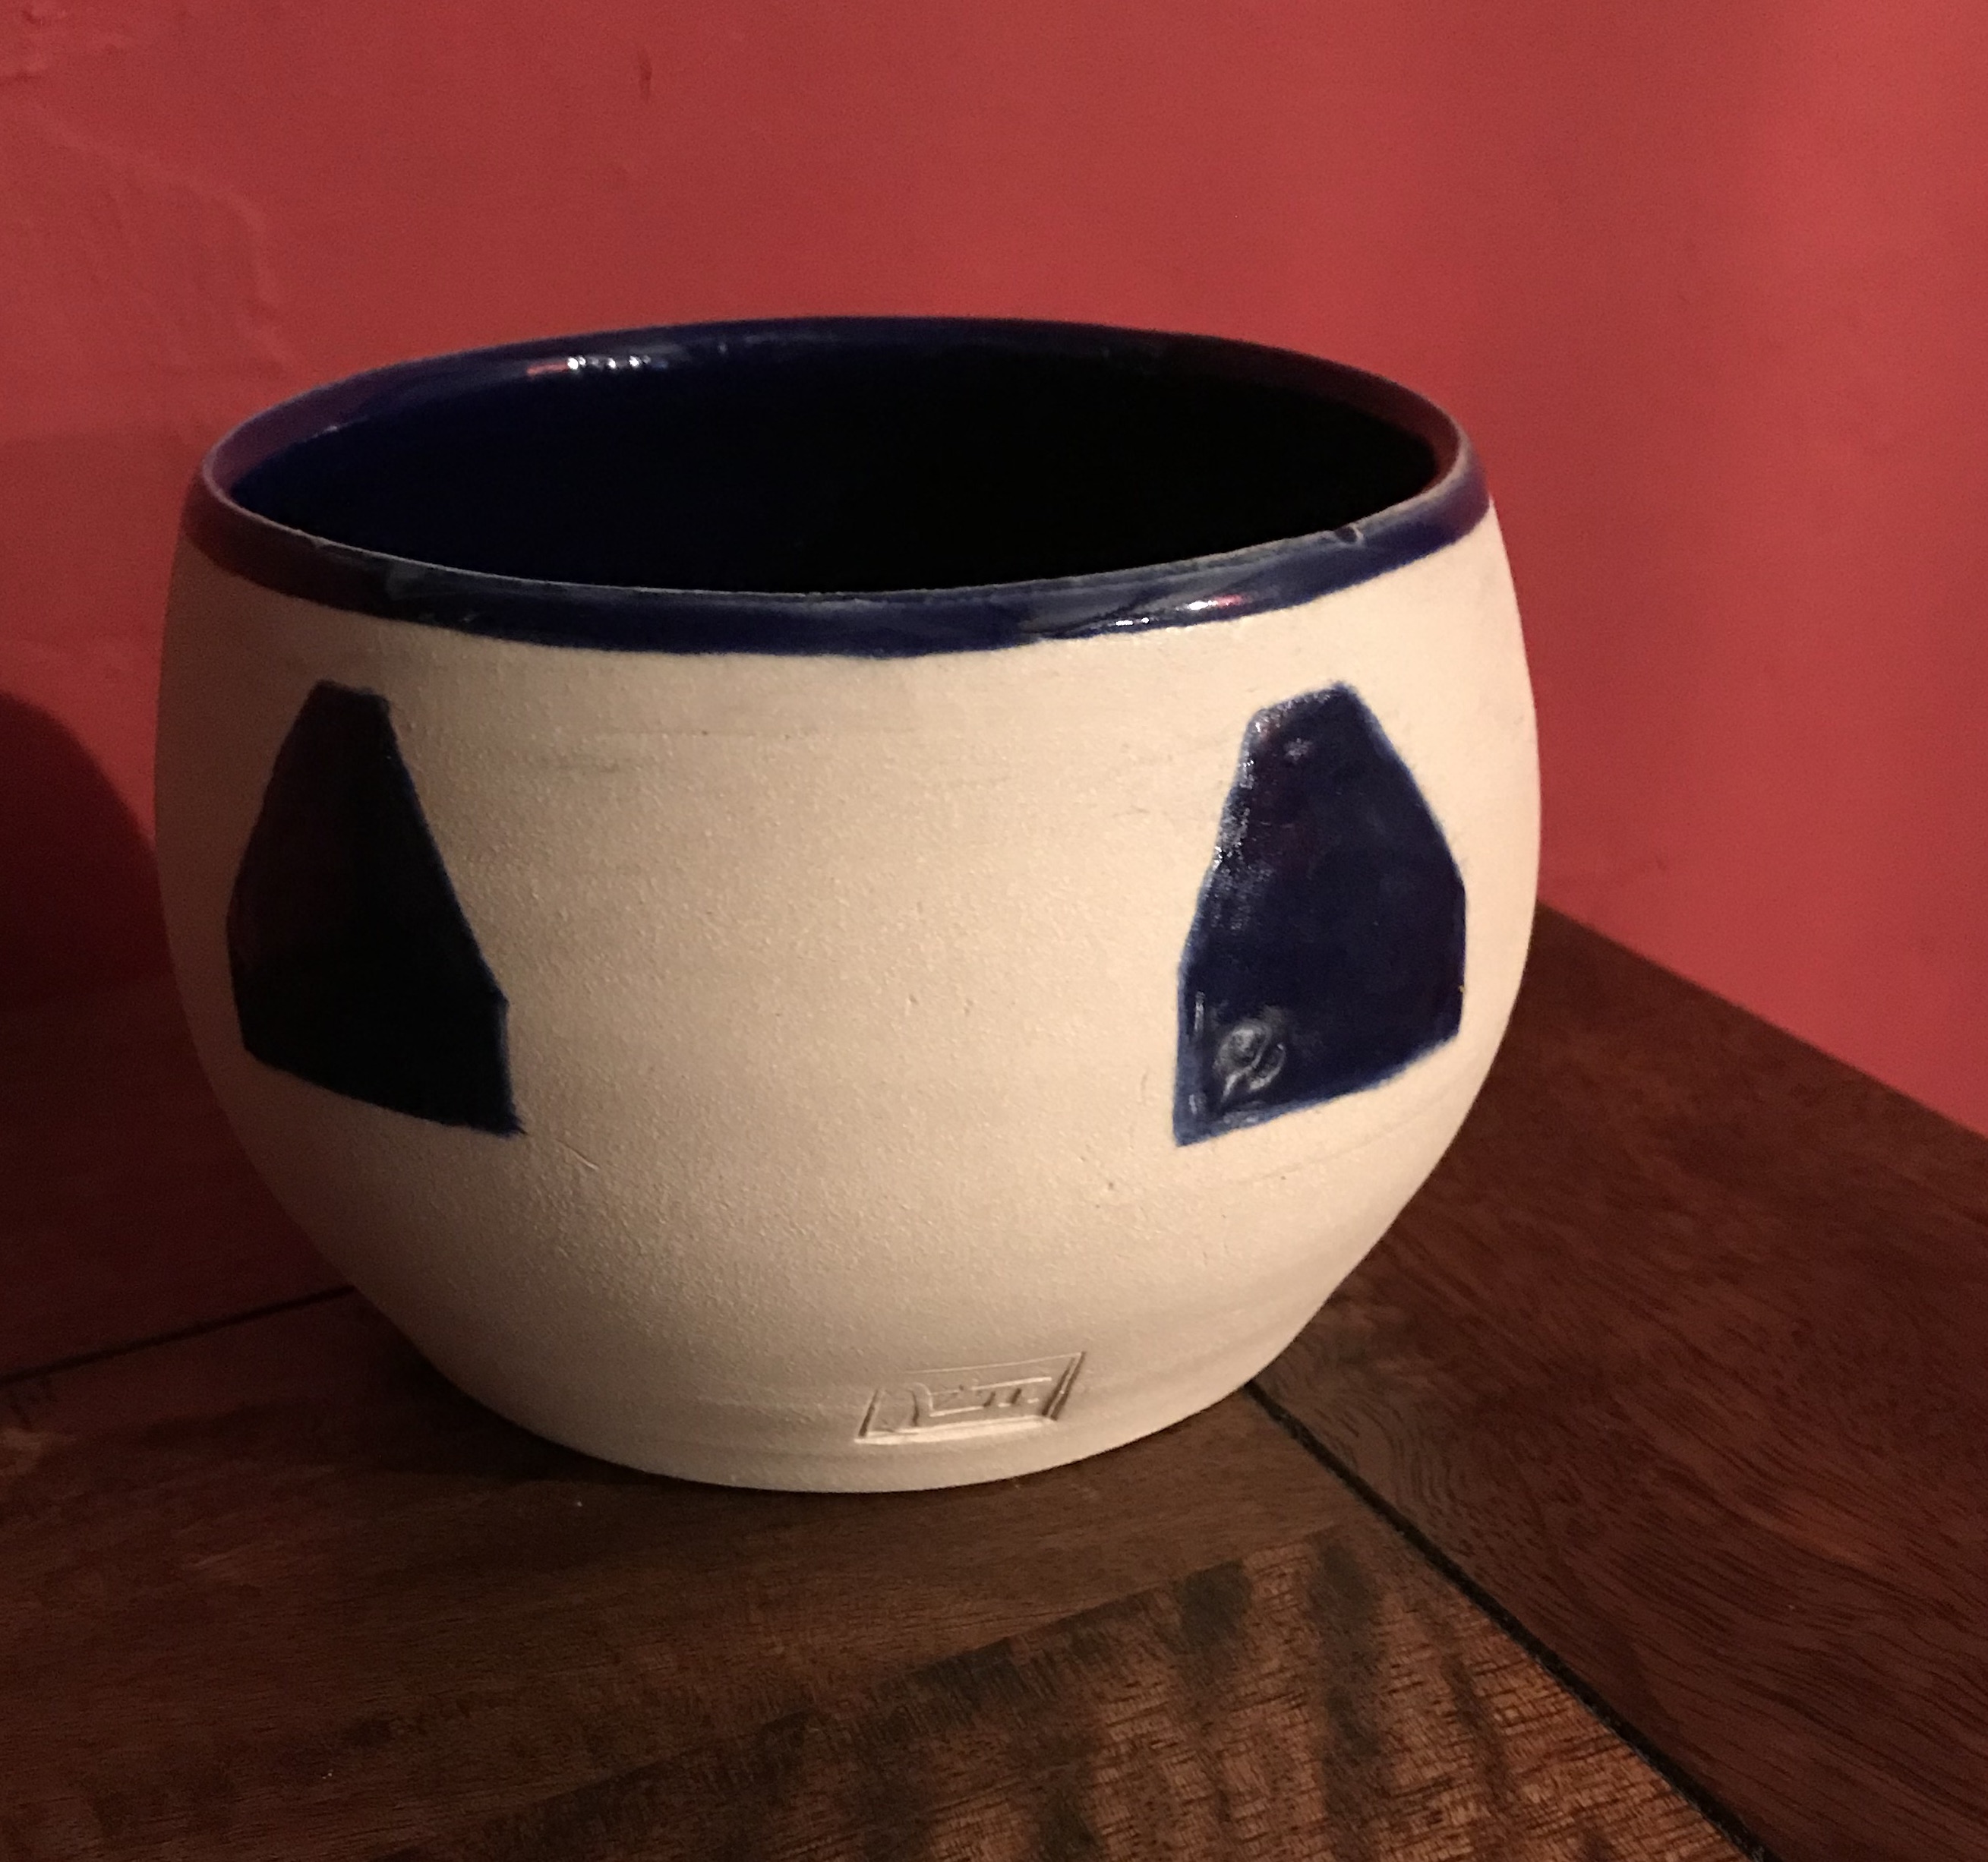

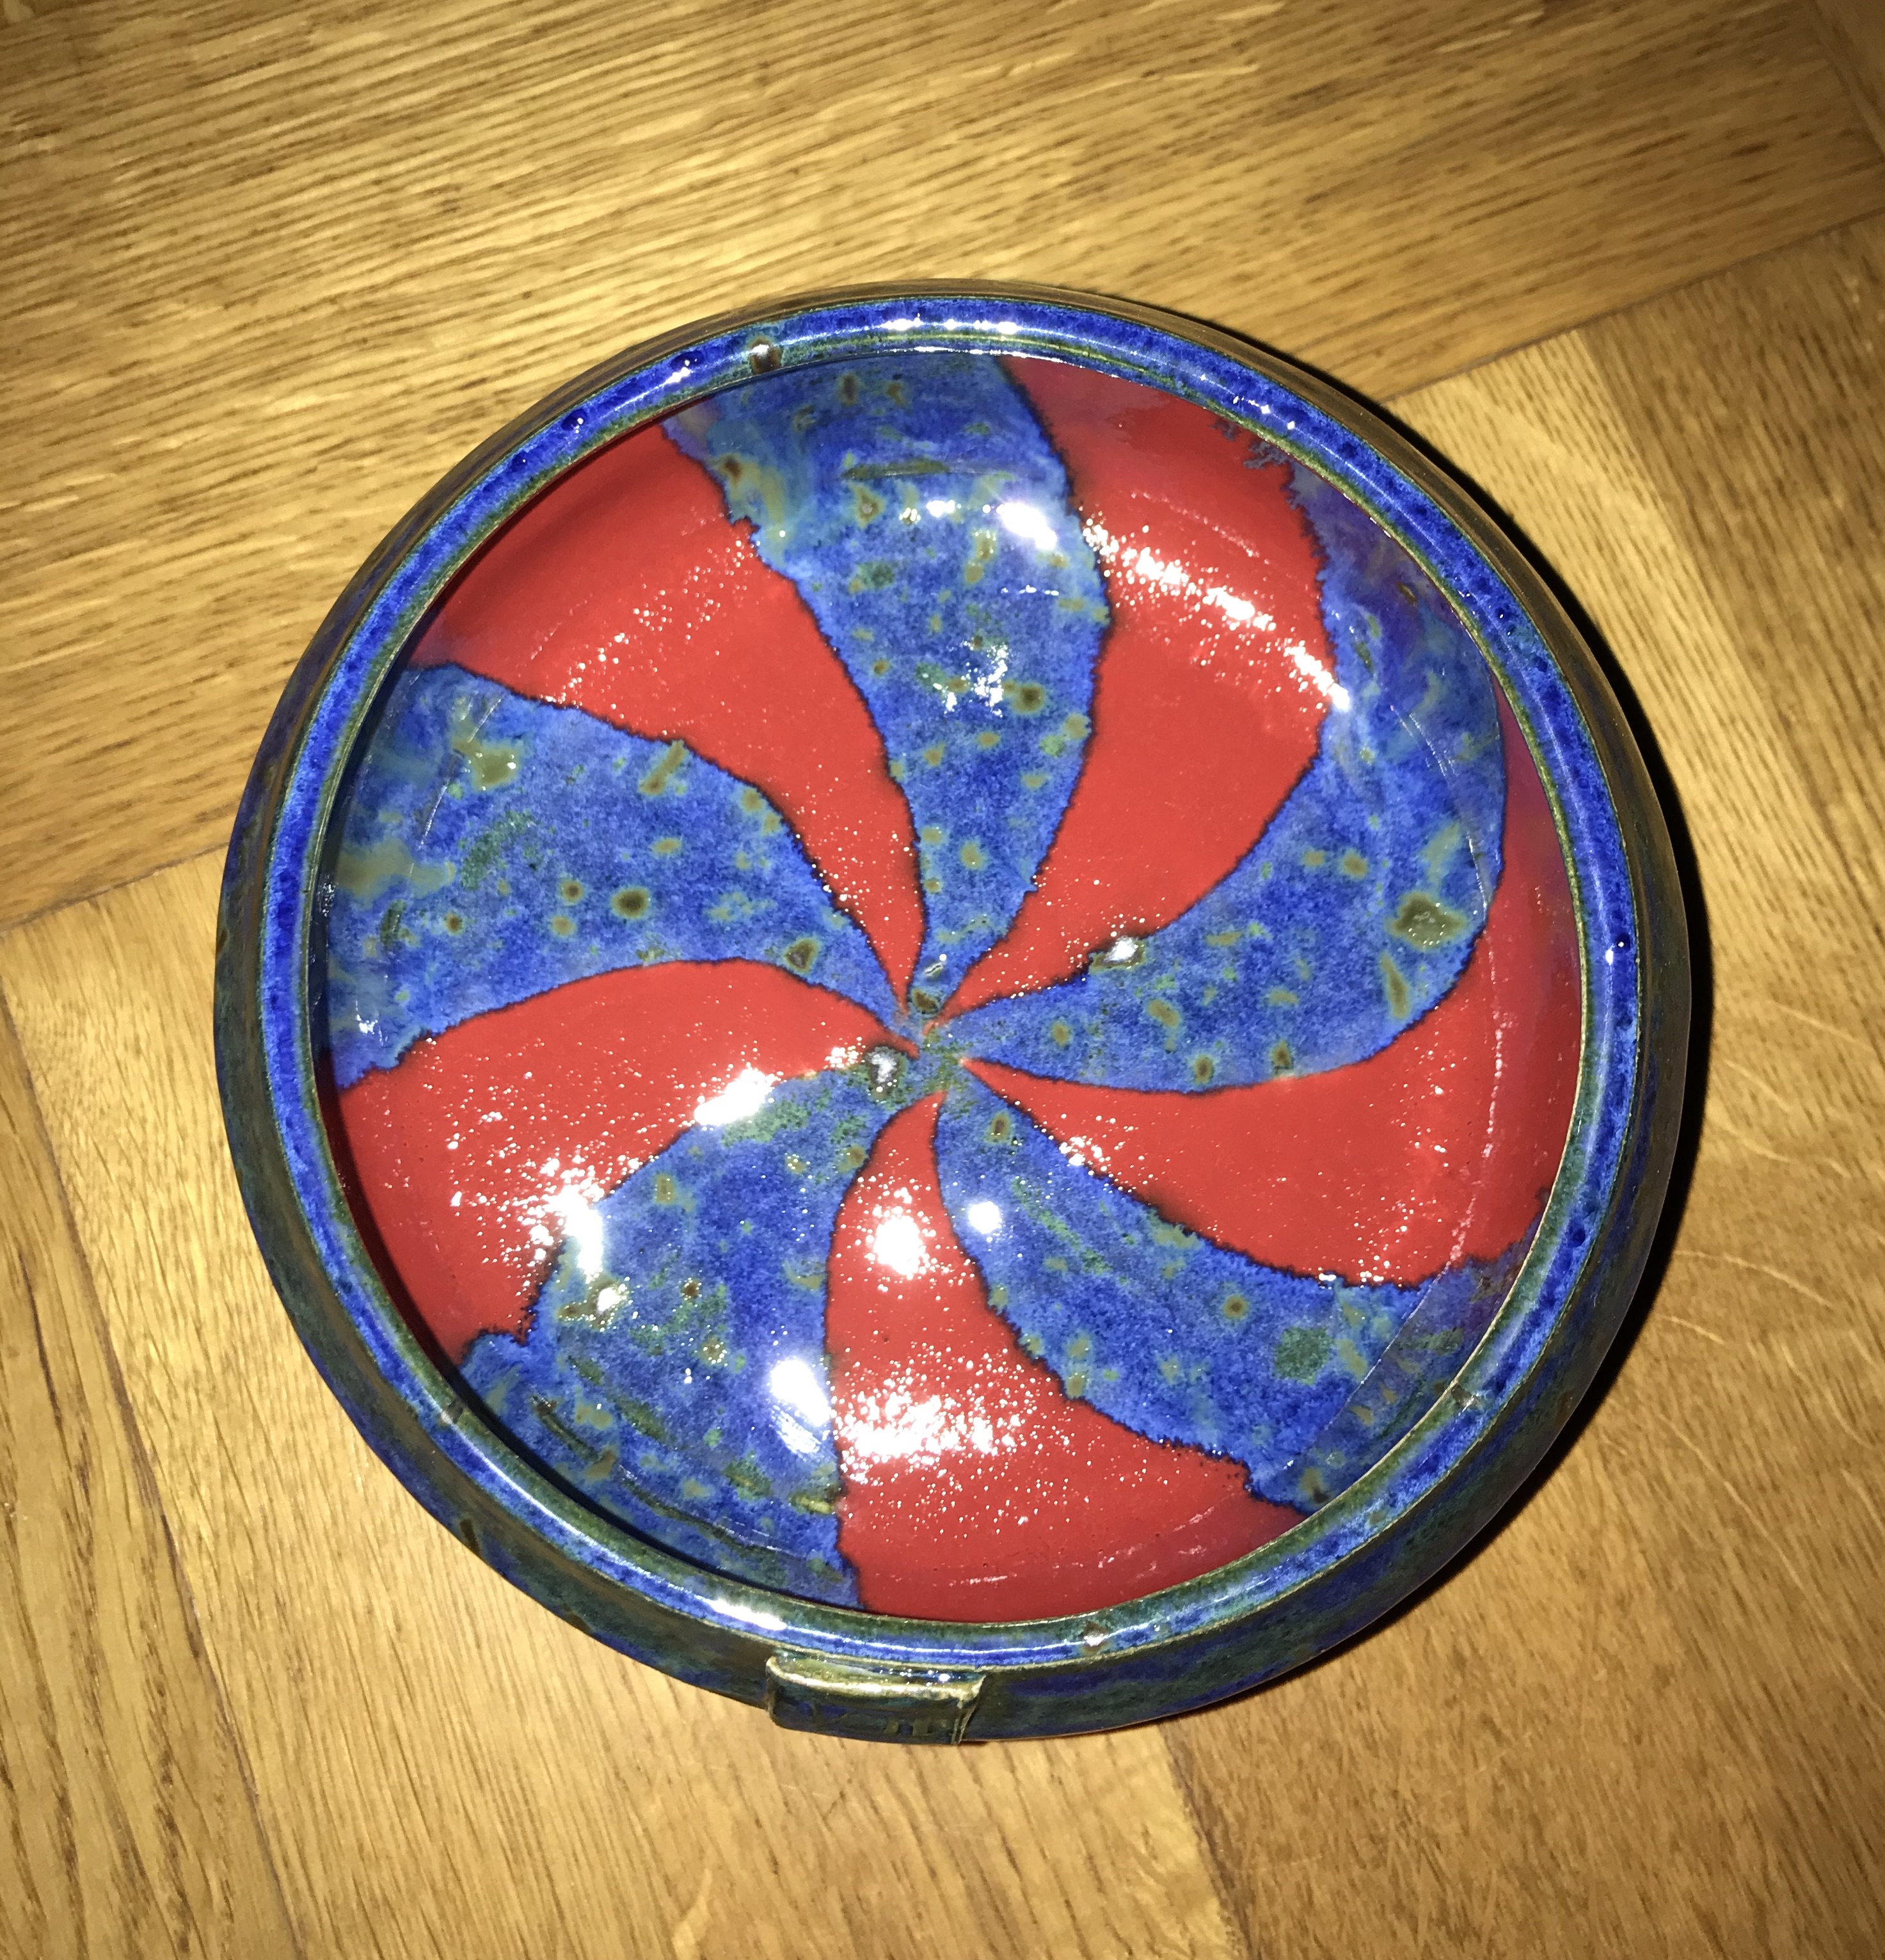
Two of the pots above were made before lock down and are now glazed; the green plate and the bottom left. The green plate was glazed with Shipwreck with a semi-transparent green glaze on top. Top left we have a double logo showing the card logo and the clay mark together and while this image shows a well-controlled glazing, the other faces are less so! The centre left is decorated using Cobalt carbonate applied with a feather and then transparent glaze on top which has drained some of colour from the pot at the bisque stage. Bottom left is my best throw to date (see my 1st May post) dark blue glaze internally with a bright blue underglaze on the truncated triangle motifs topped with a transparent glaze.
There are more pots in the works including one which was very nearly a large hand built bottle before it collapsed in on itself and now I’m just left with the base. We’ll see how we get on with that and some exciting new glazes!


Inspired by my grandson’s Lockdown artwork, with pebble detail although not quite true to colour. It was a stormier day when my pot was built!
All from recycled stoneware clay built around moulds with the idea of making the walls as thin as possible and letting the clay do the talking.
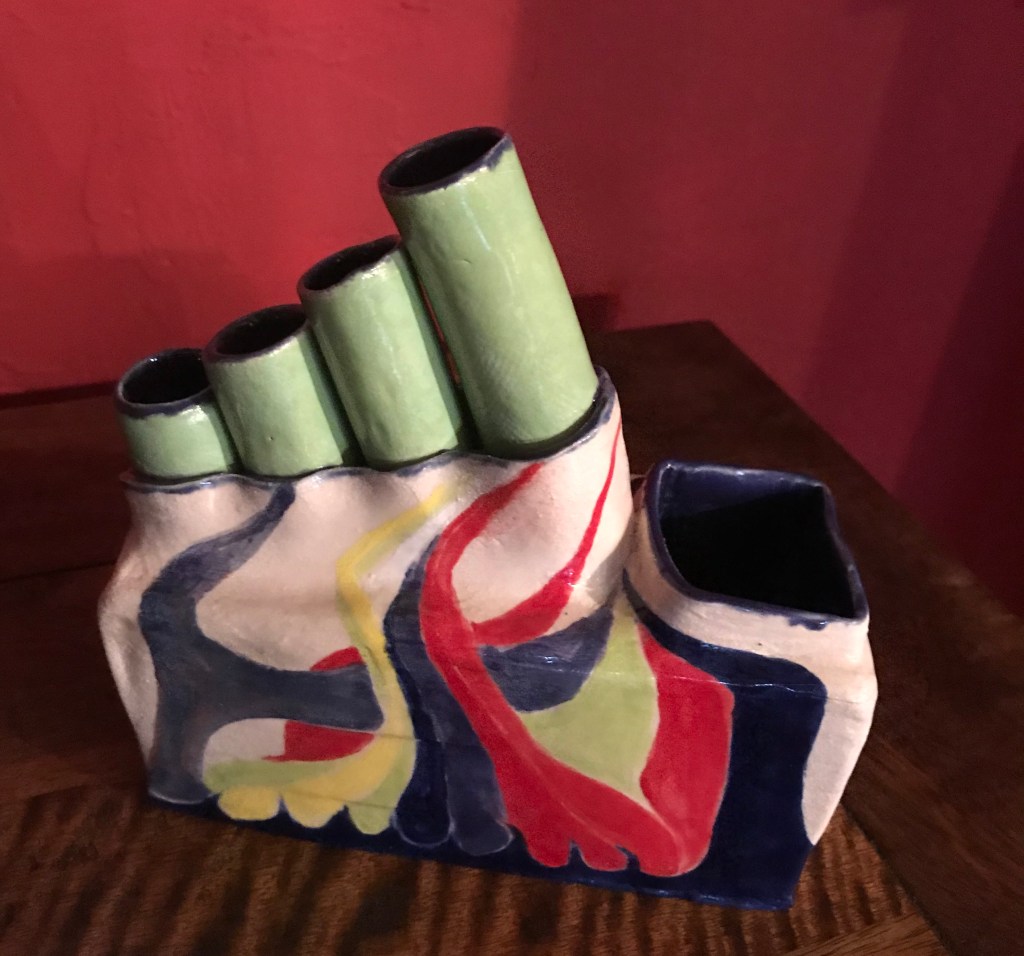
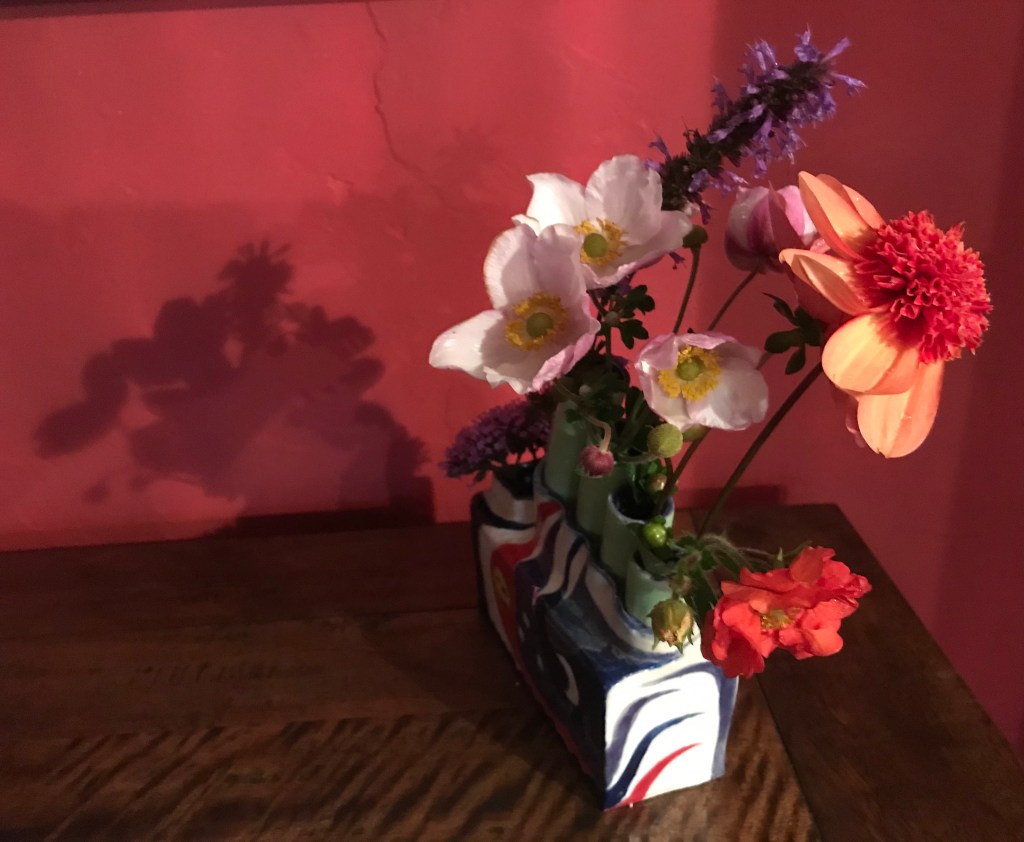
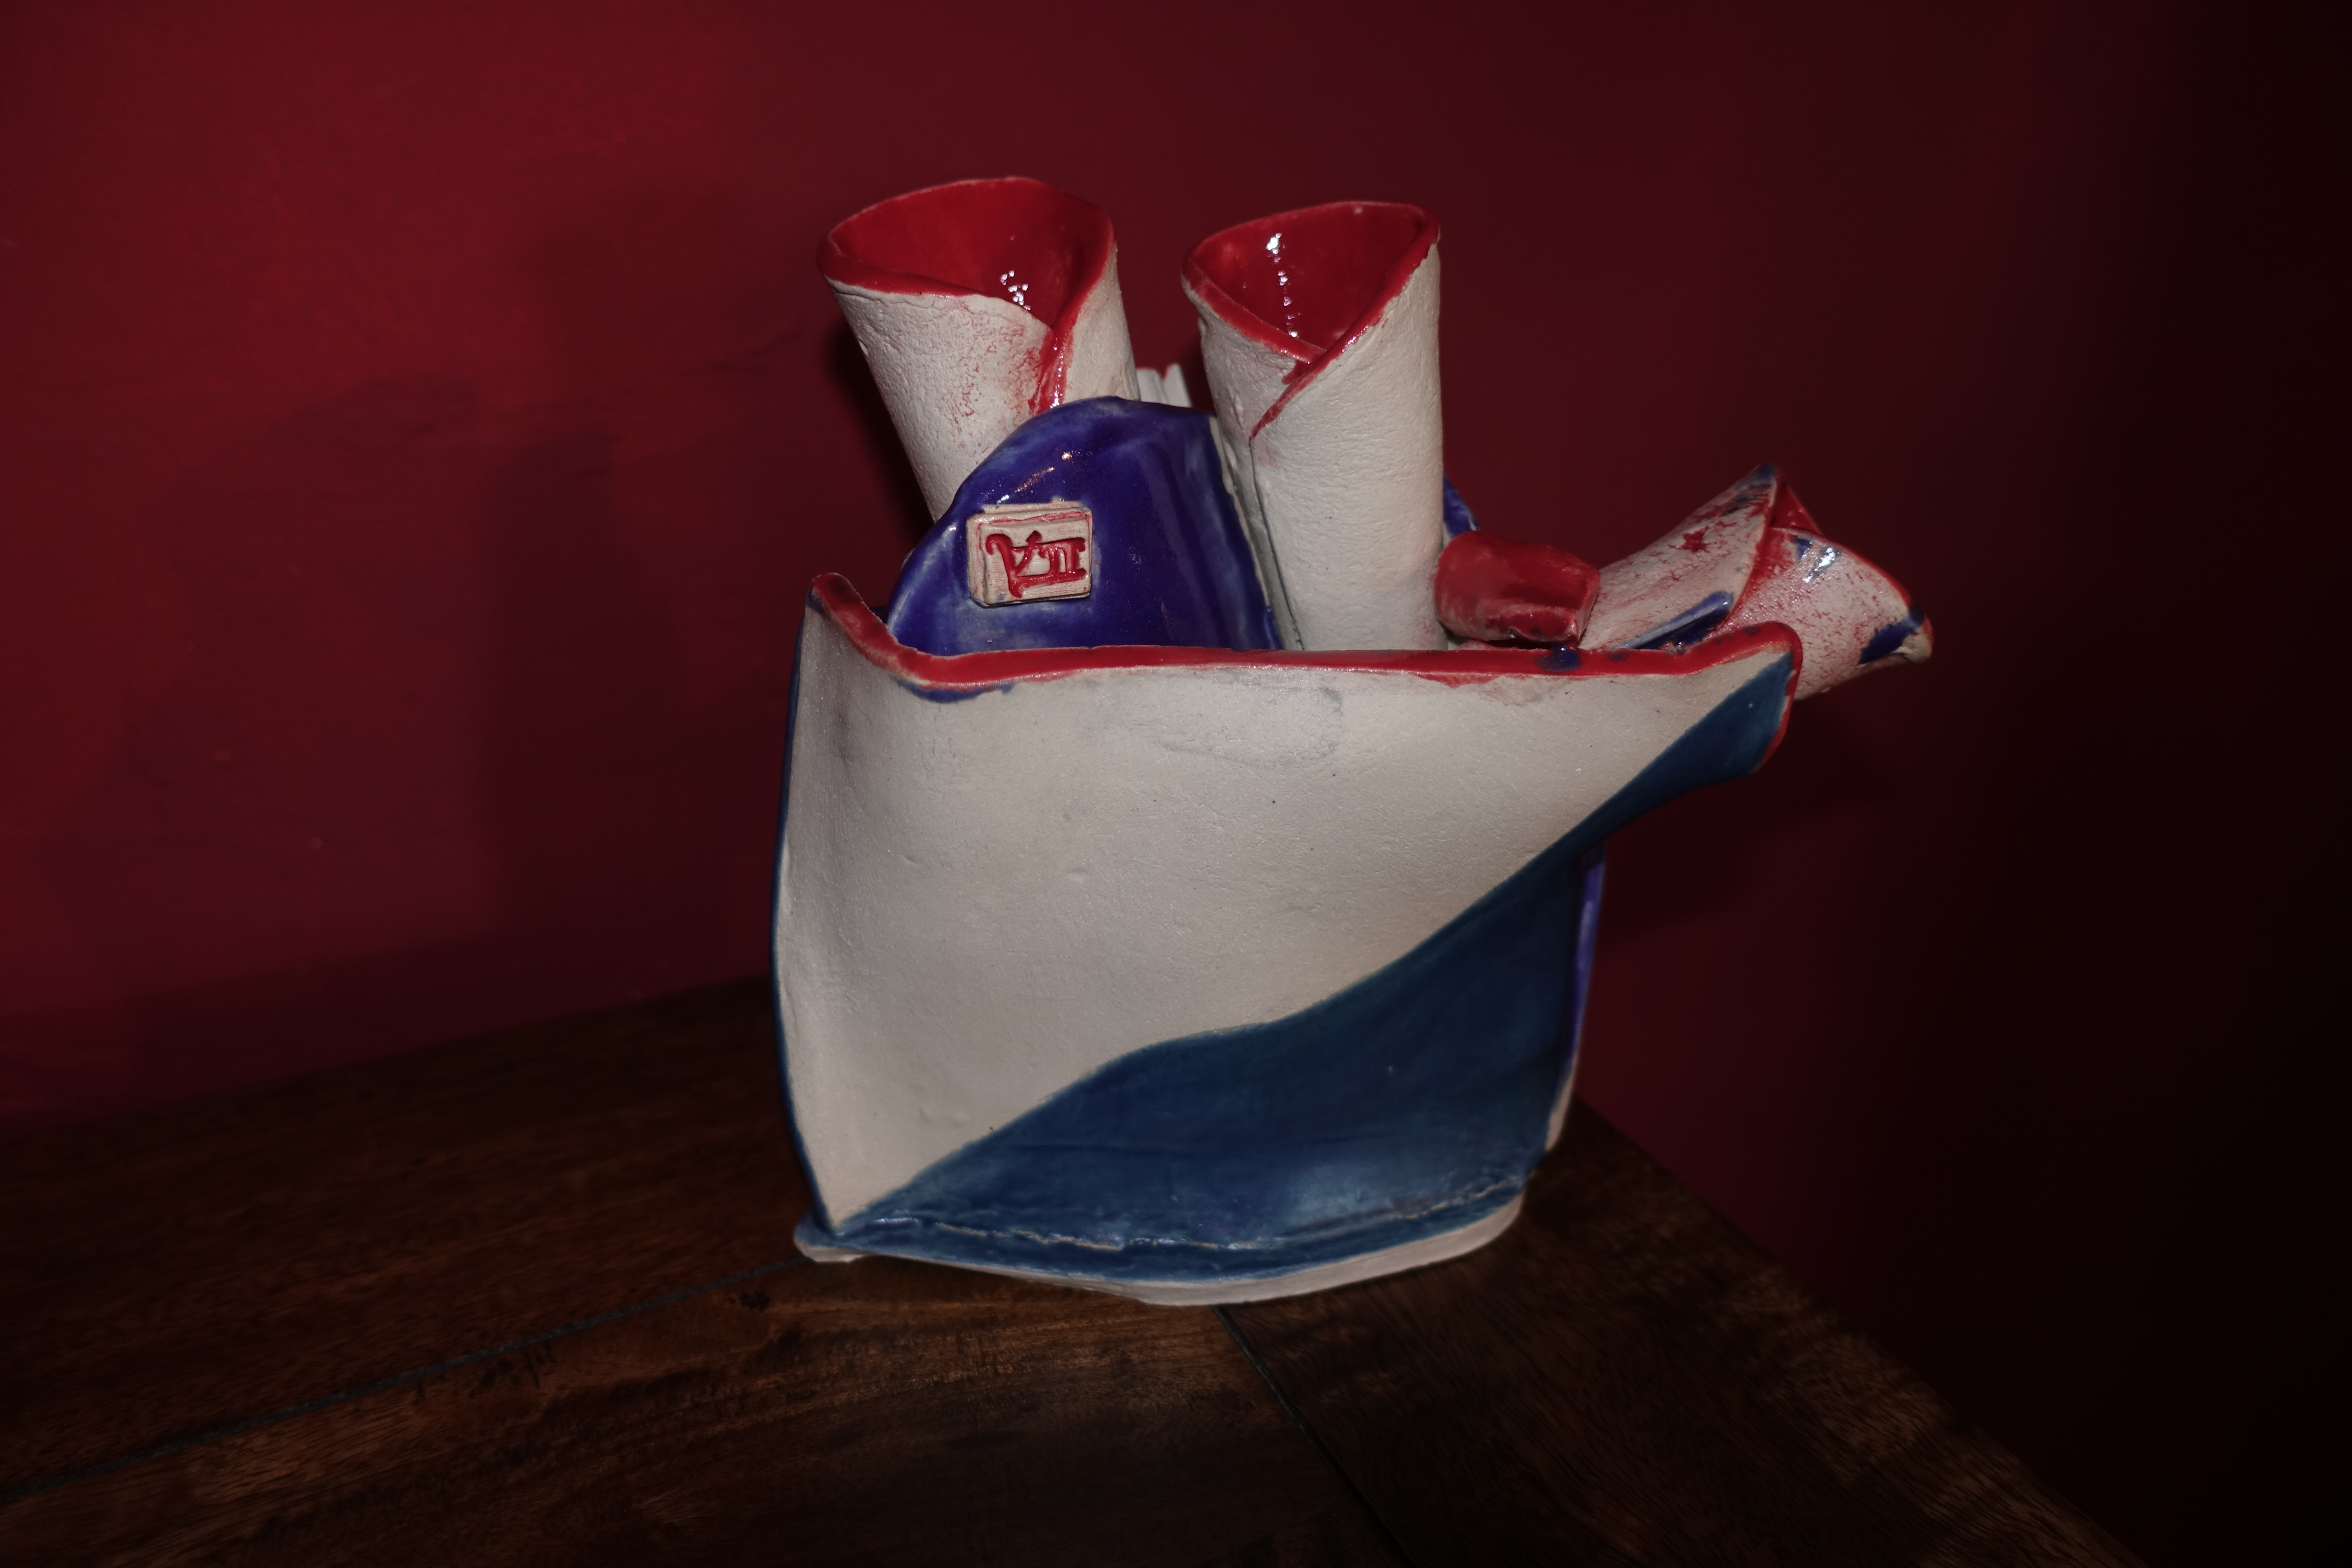
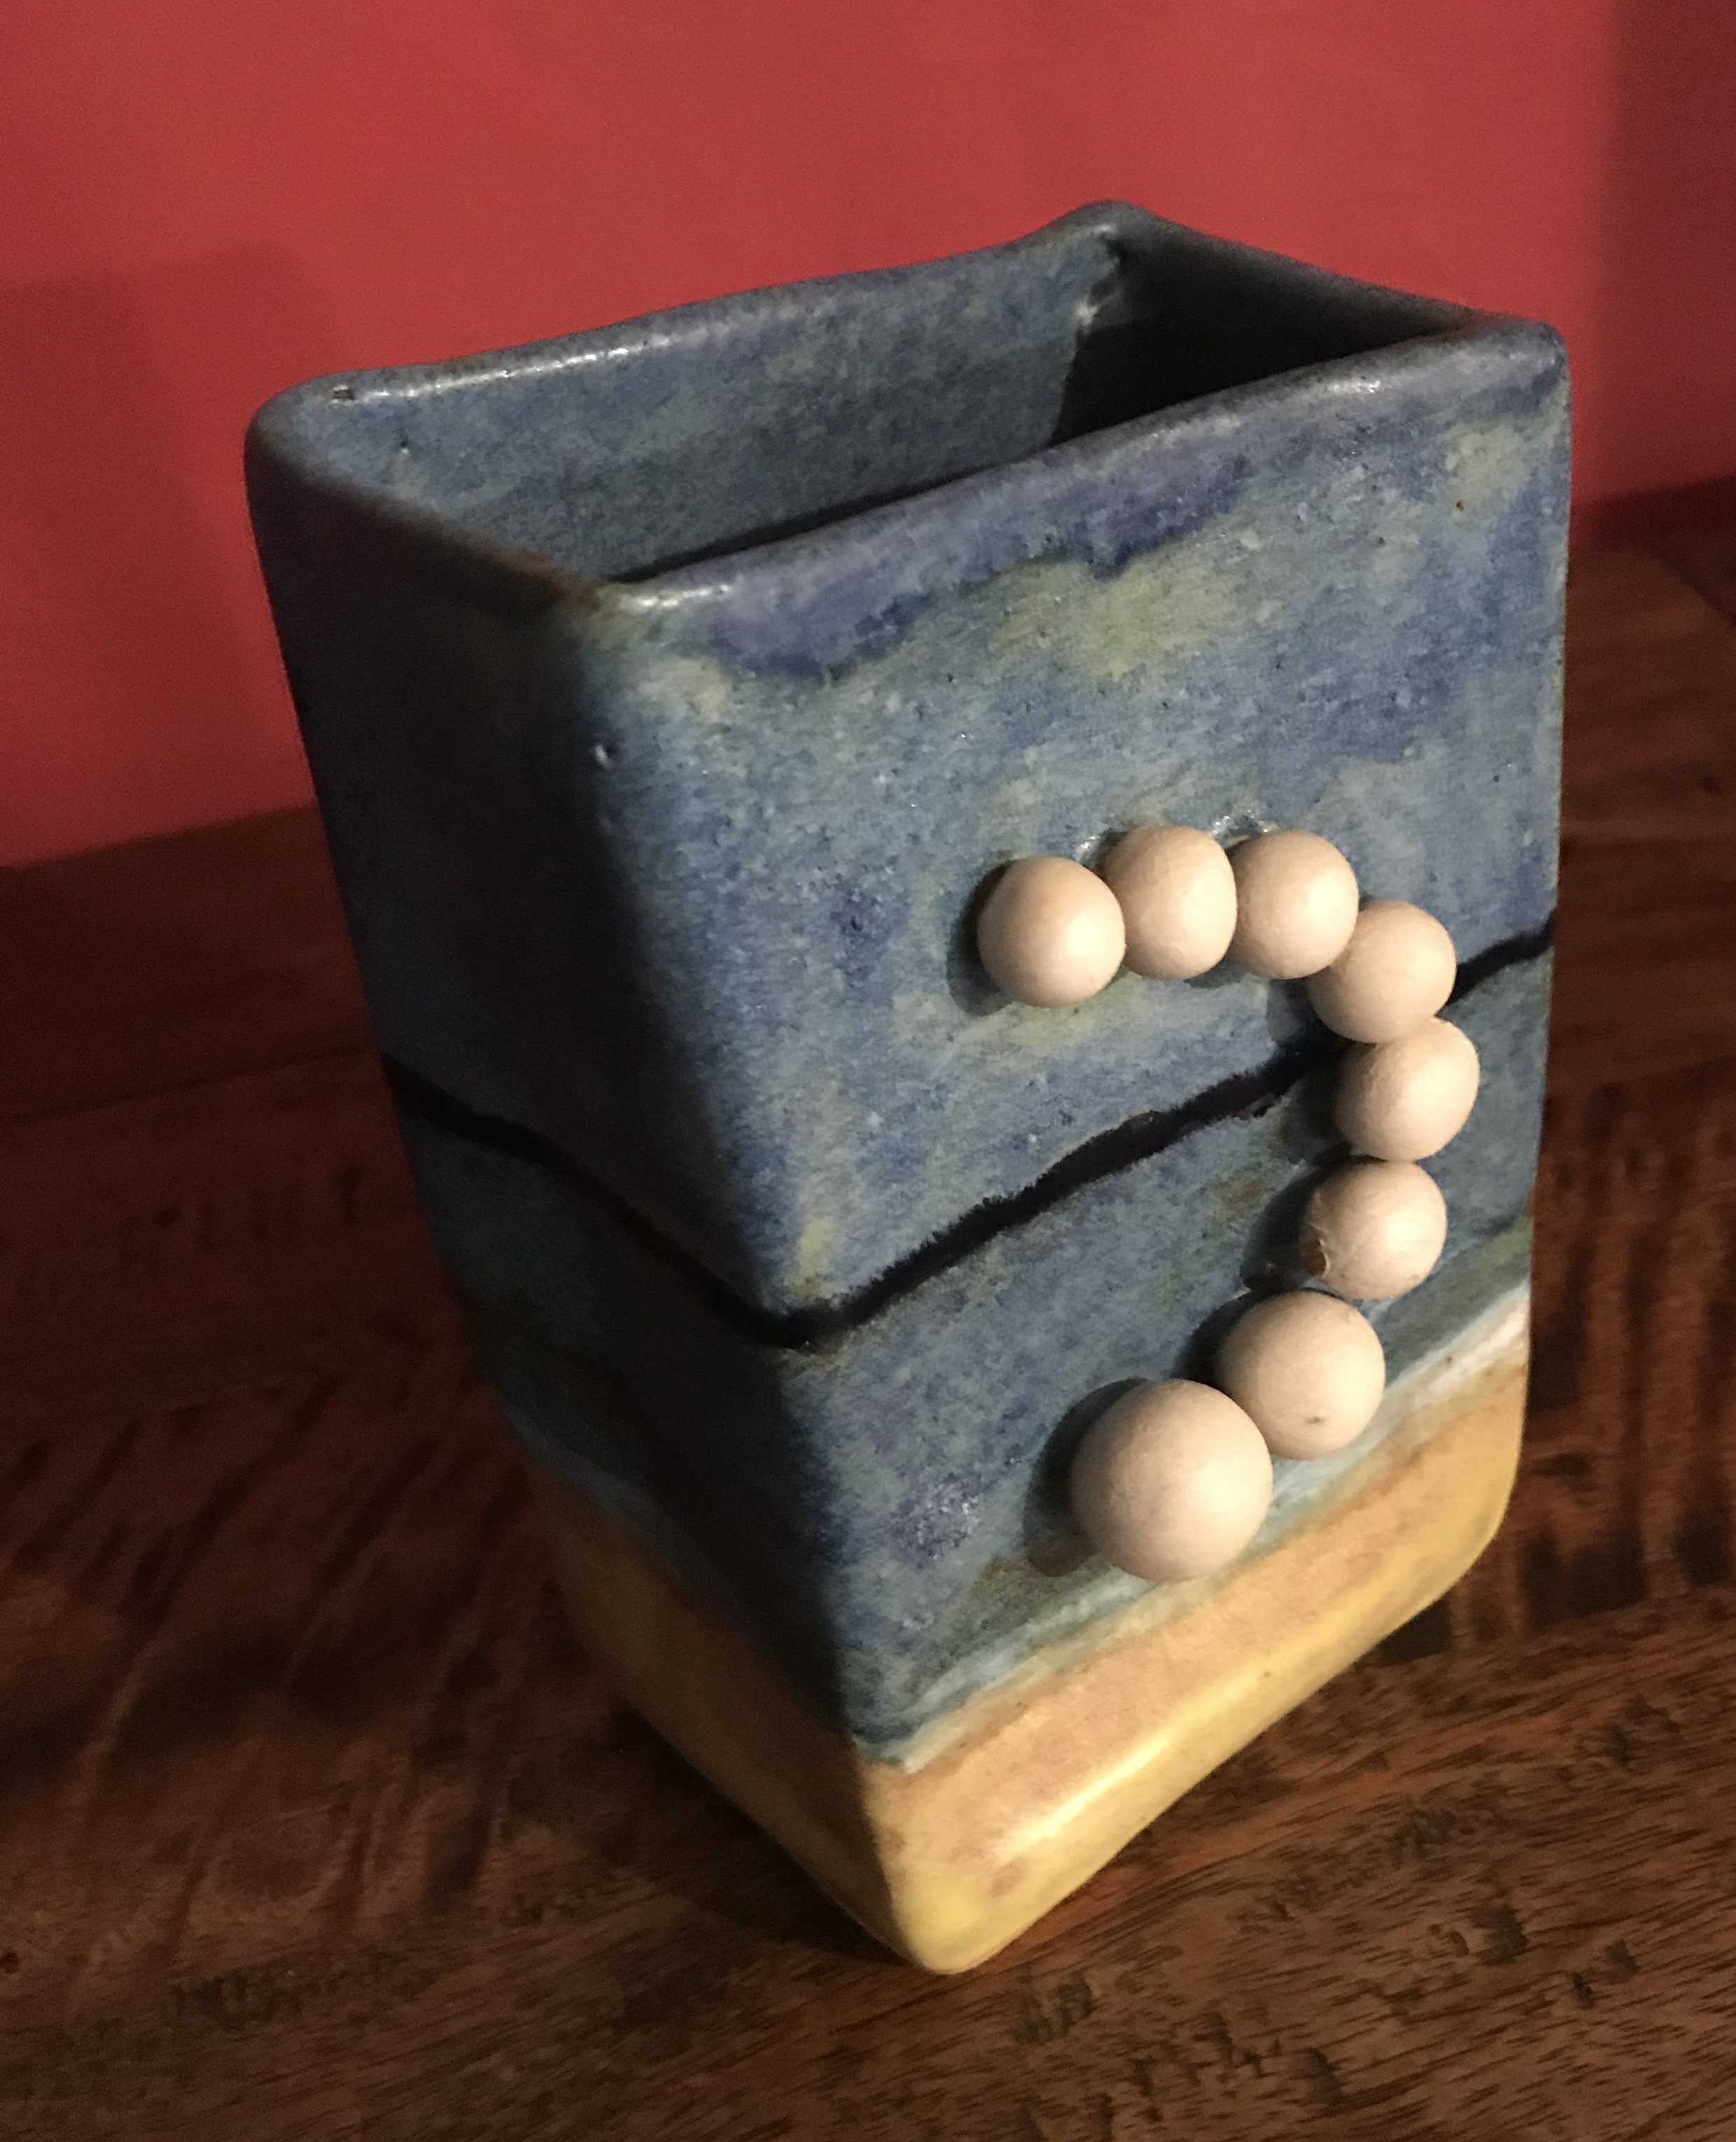
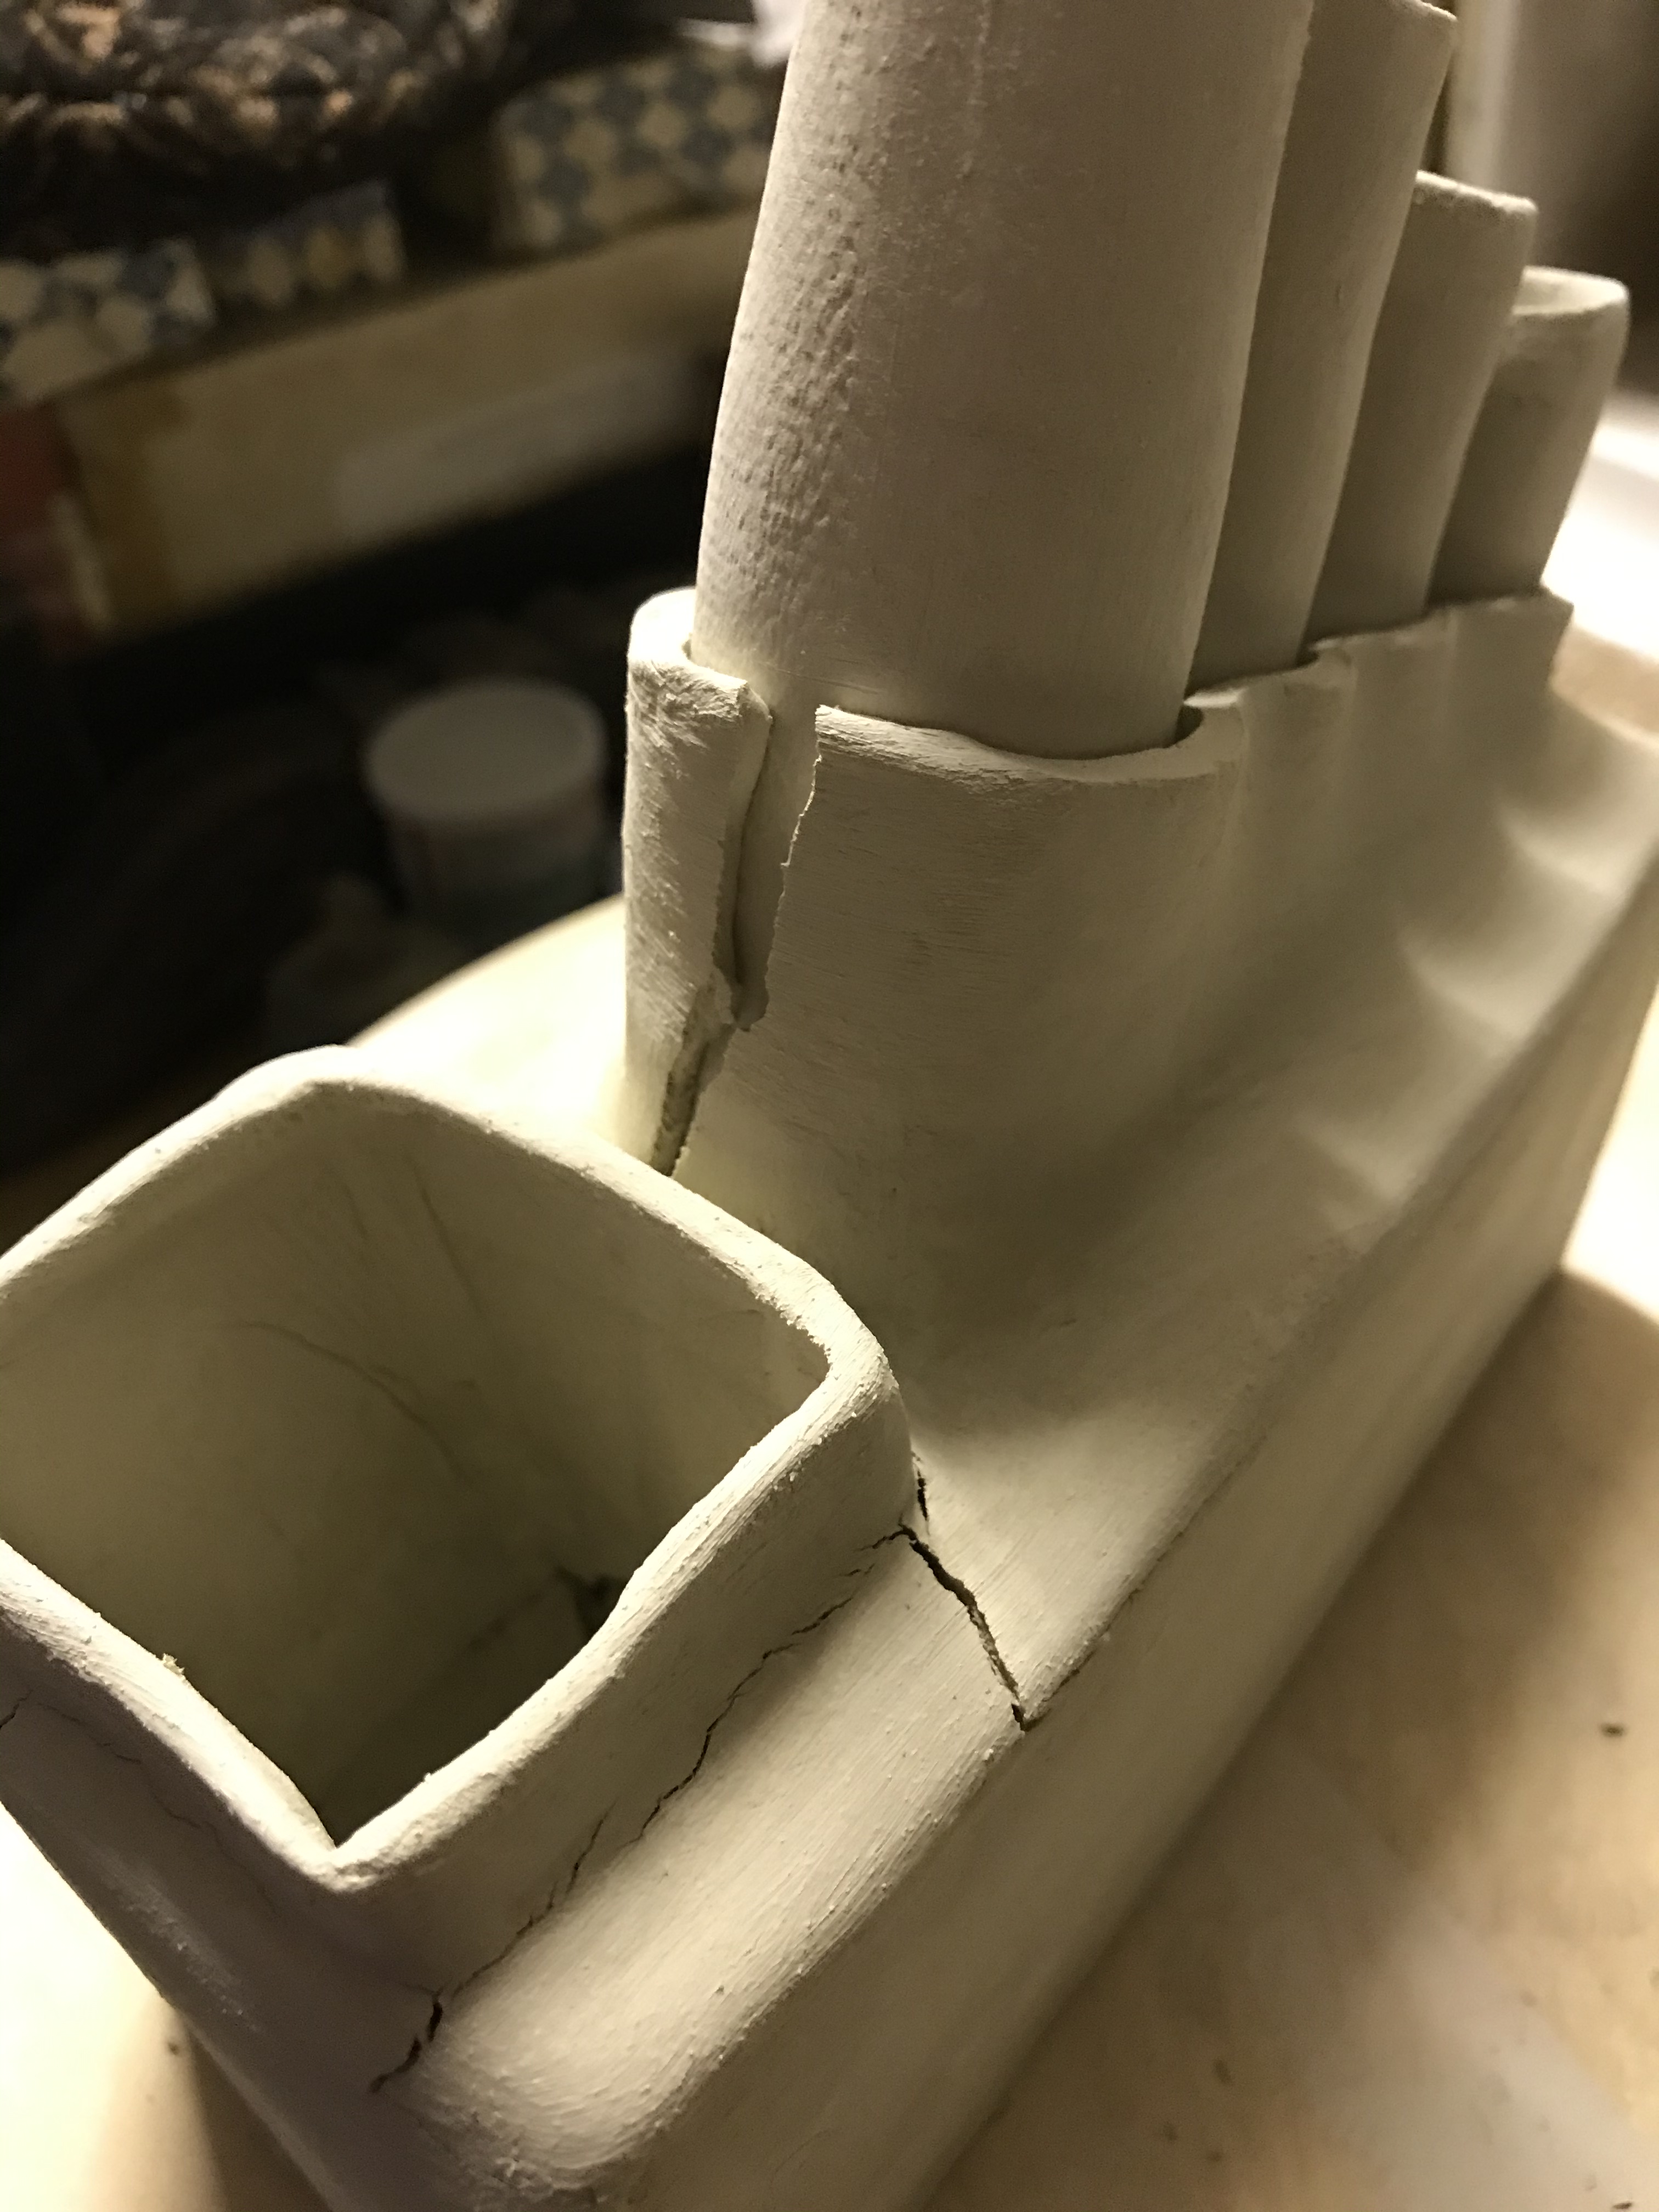
And now for a technical piece – Is it a liner’s superstructure, a mortar/rocket launcher? – No! It’s a vase – of course!
A technical challenge with a not terribly aesthetic outcome. The challenge was to suspend the “funnels” above the base so that the vase can be filled from the square filler and have the water flow to each of the funnels. The difficulty was that the “funnels”, the body and the square water filler were made first and dried out. The shroud which holds the funnels in place and closes the body, was made later and as it dried and contracted around the dry clay, it cracked. Numerous repairs with paper clay were, in the end, largely successful.

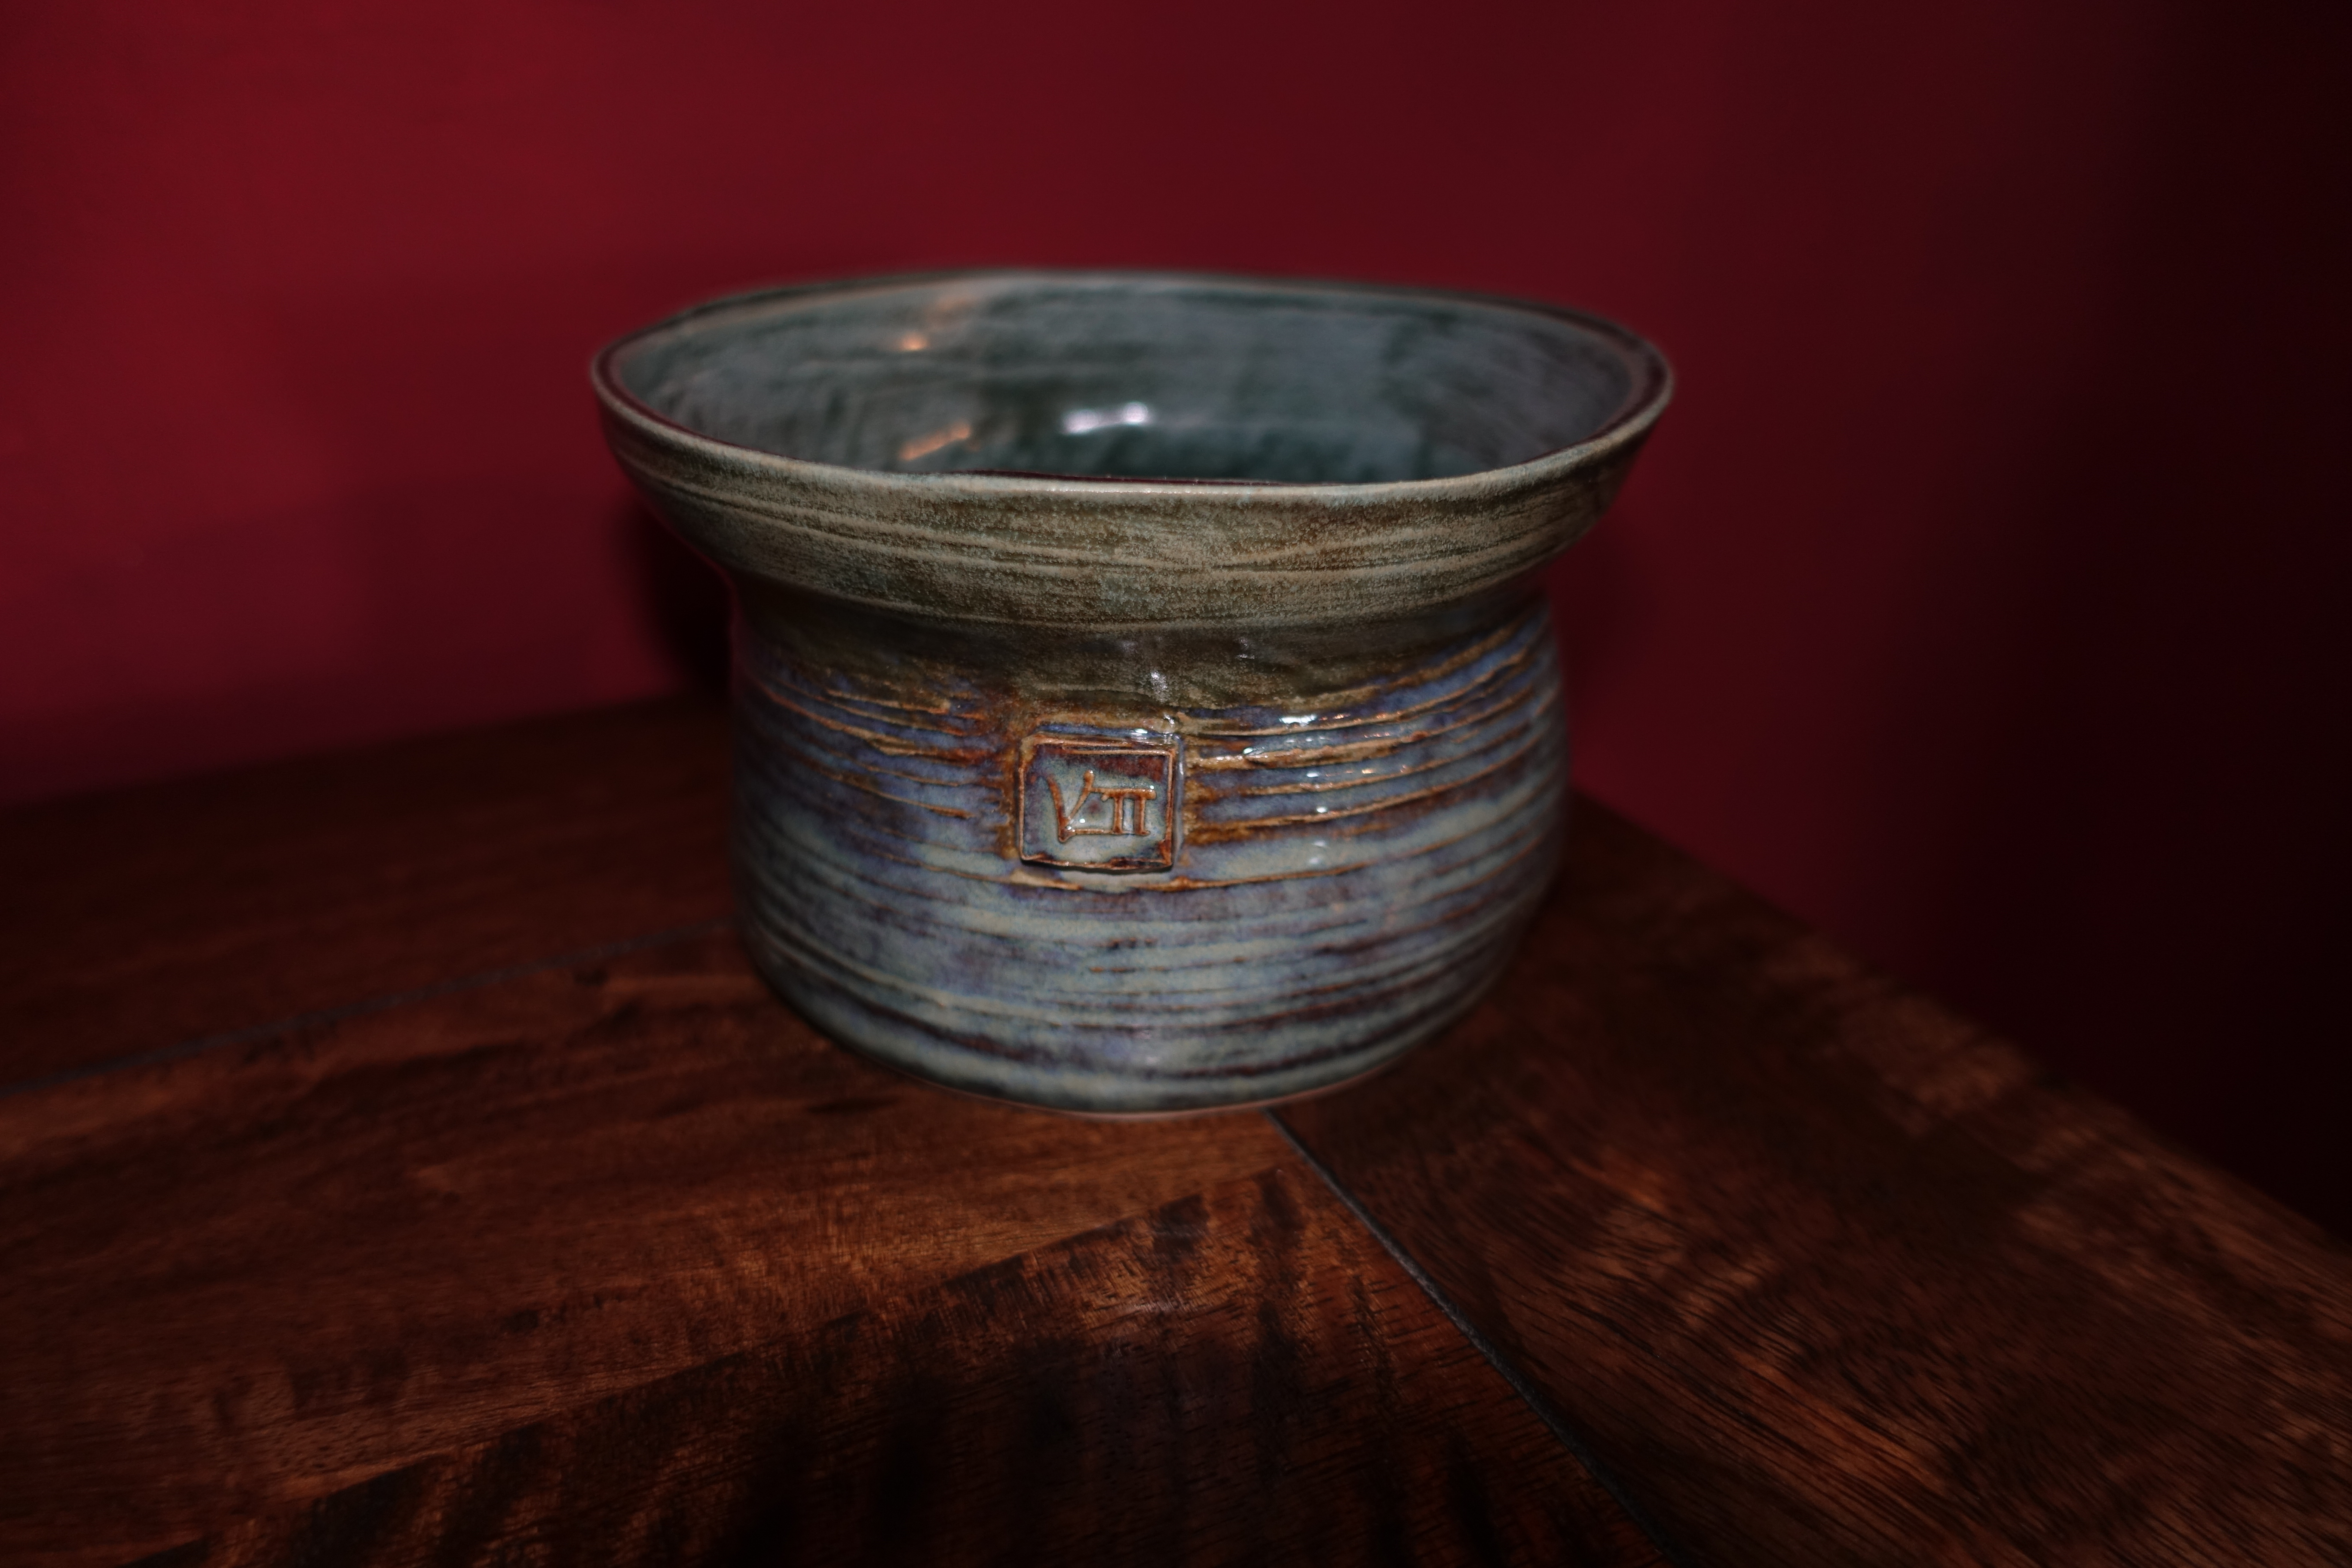
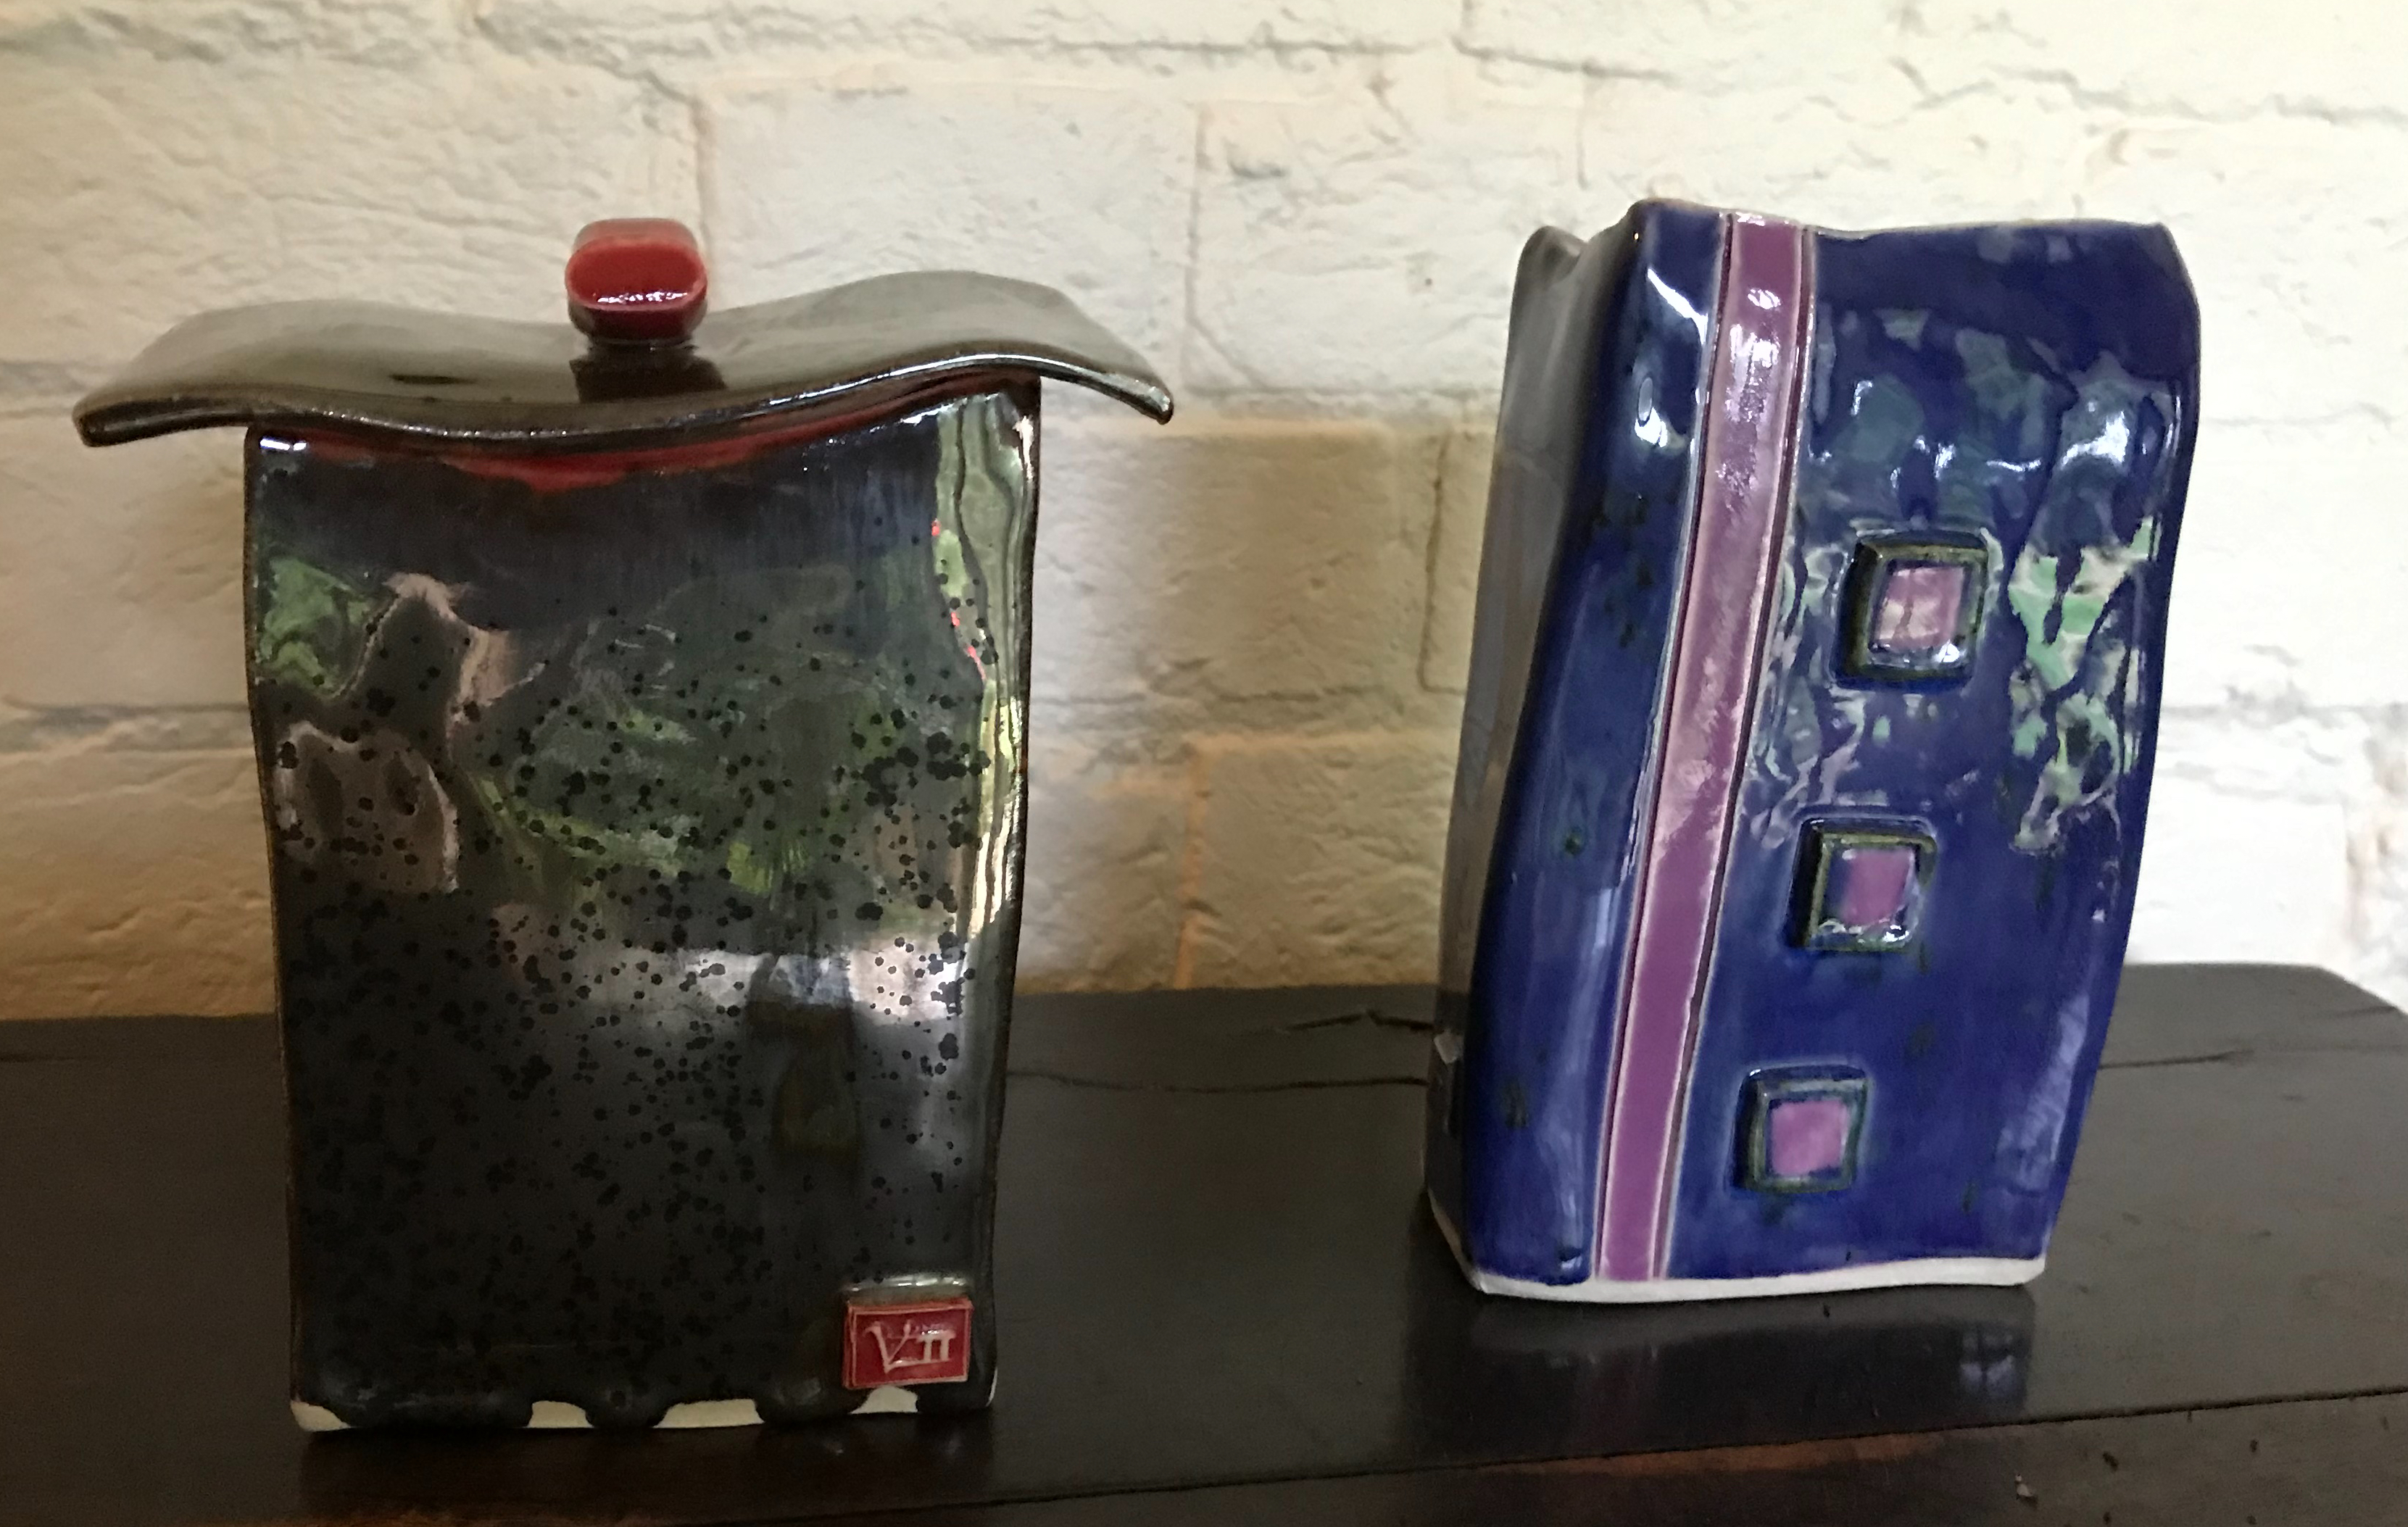
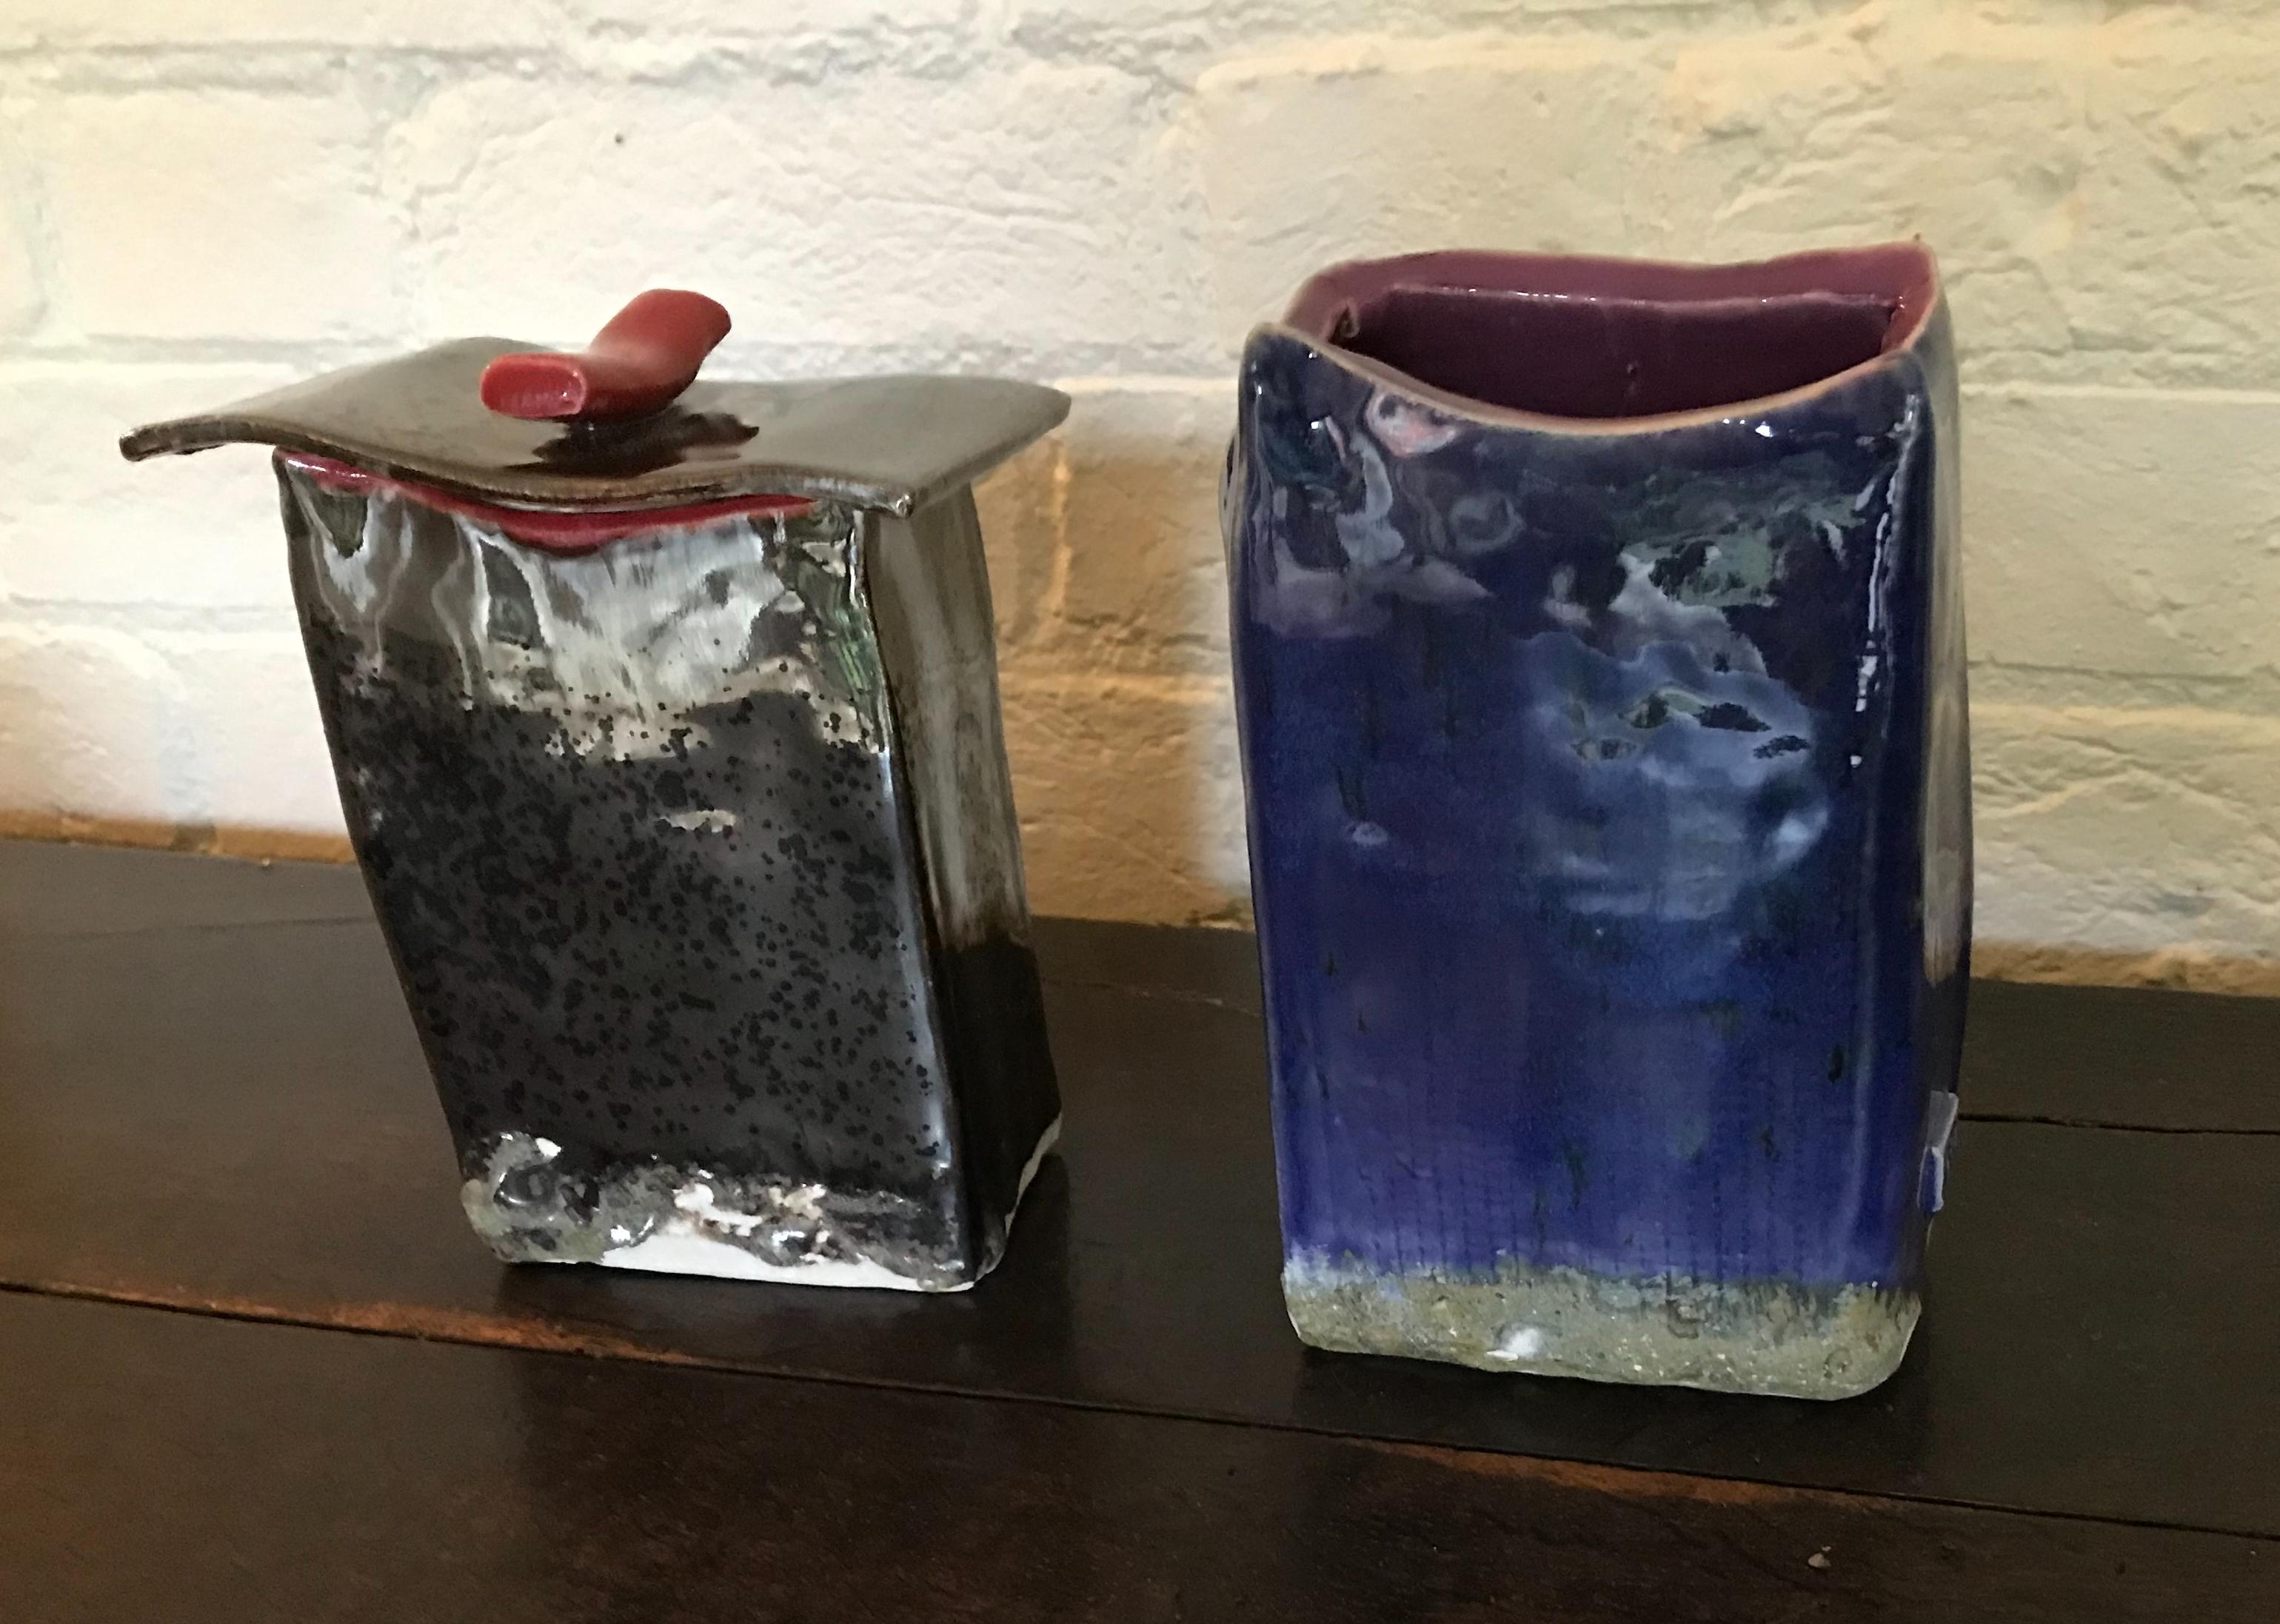
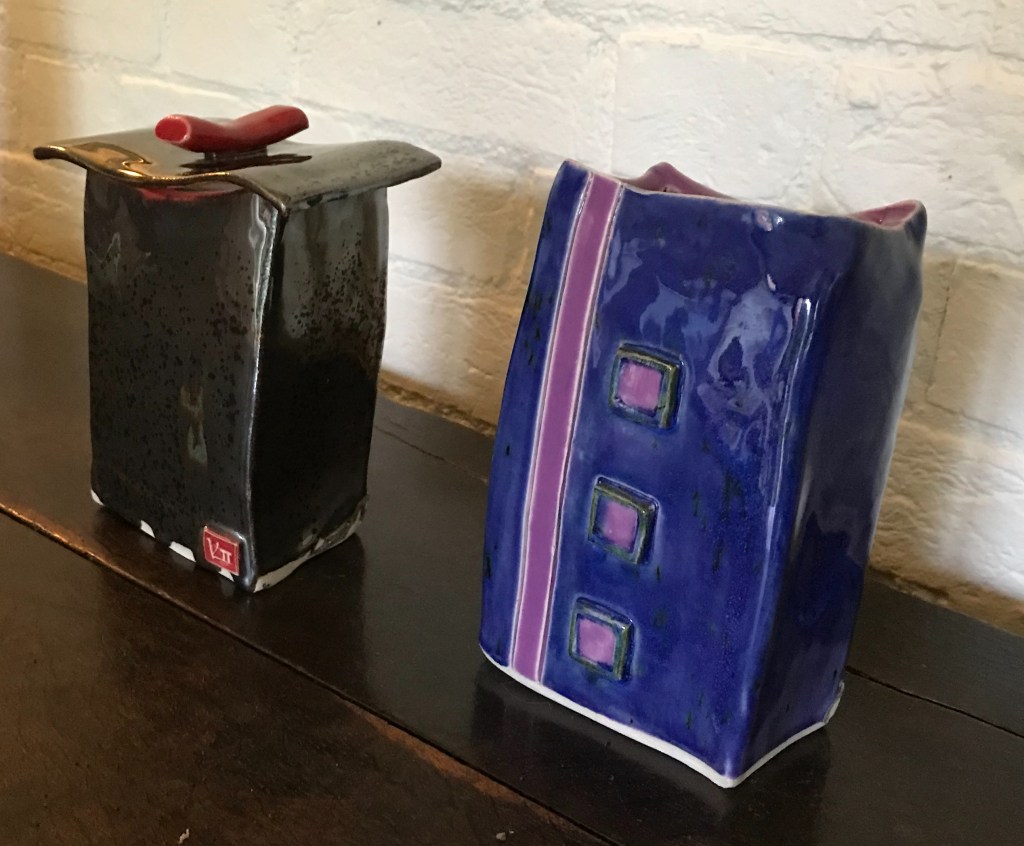
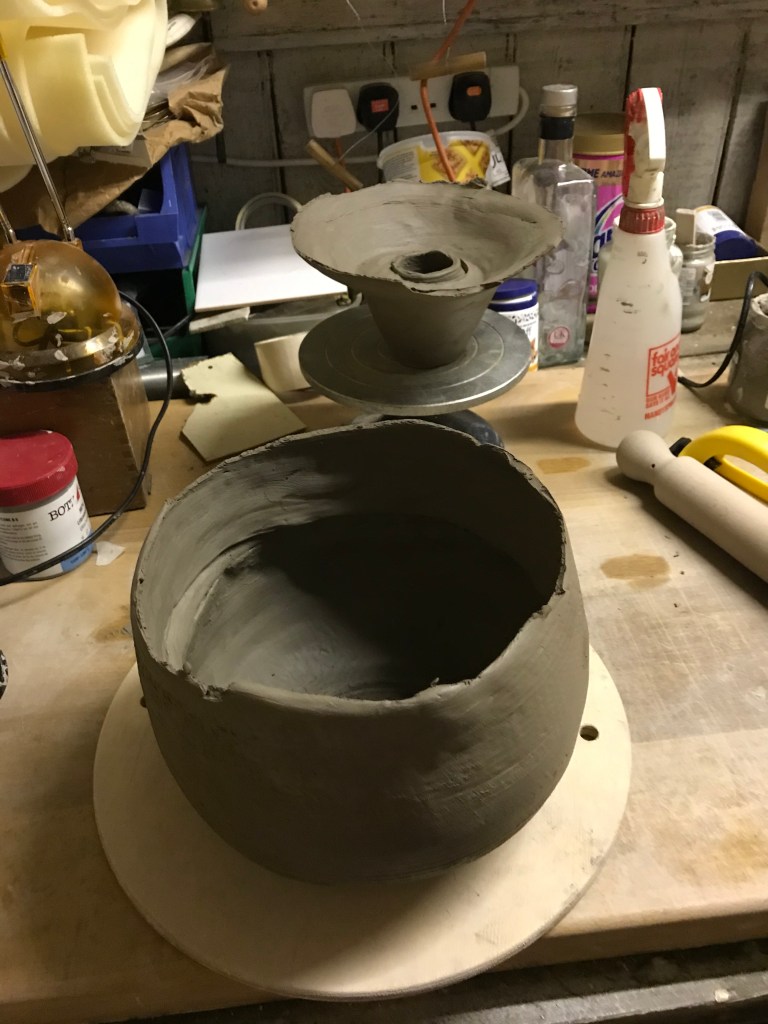
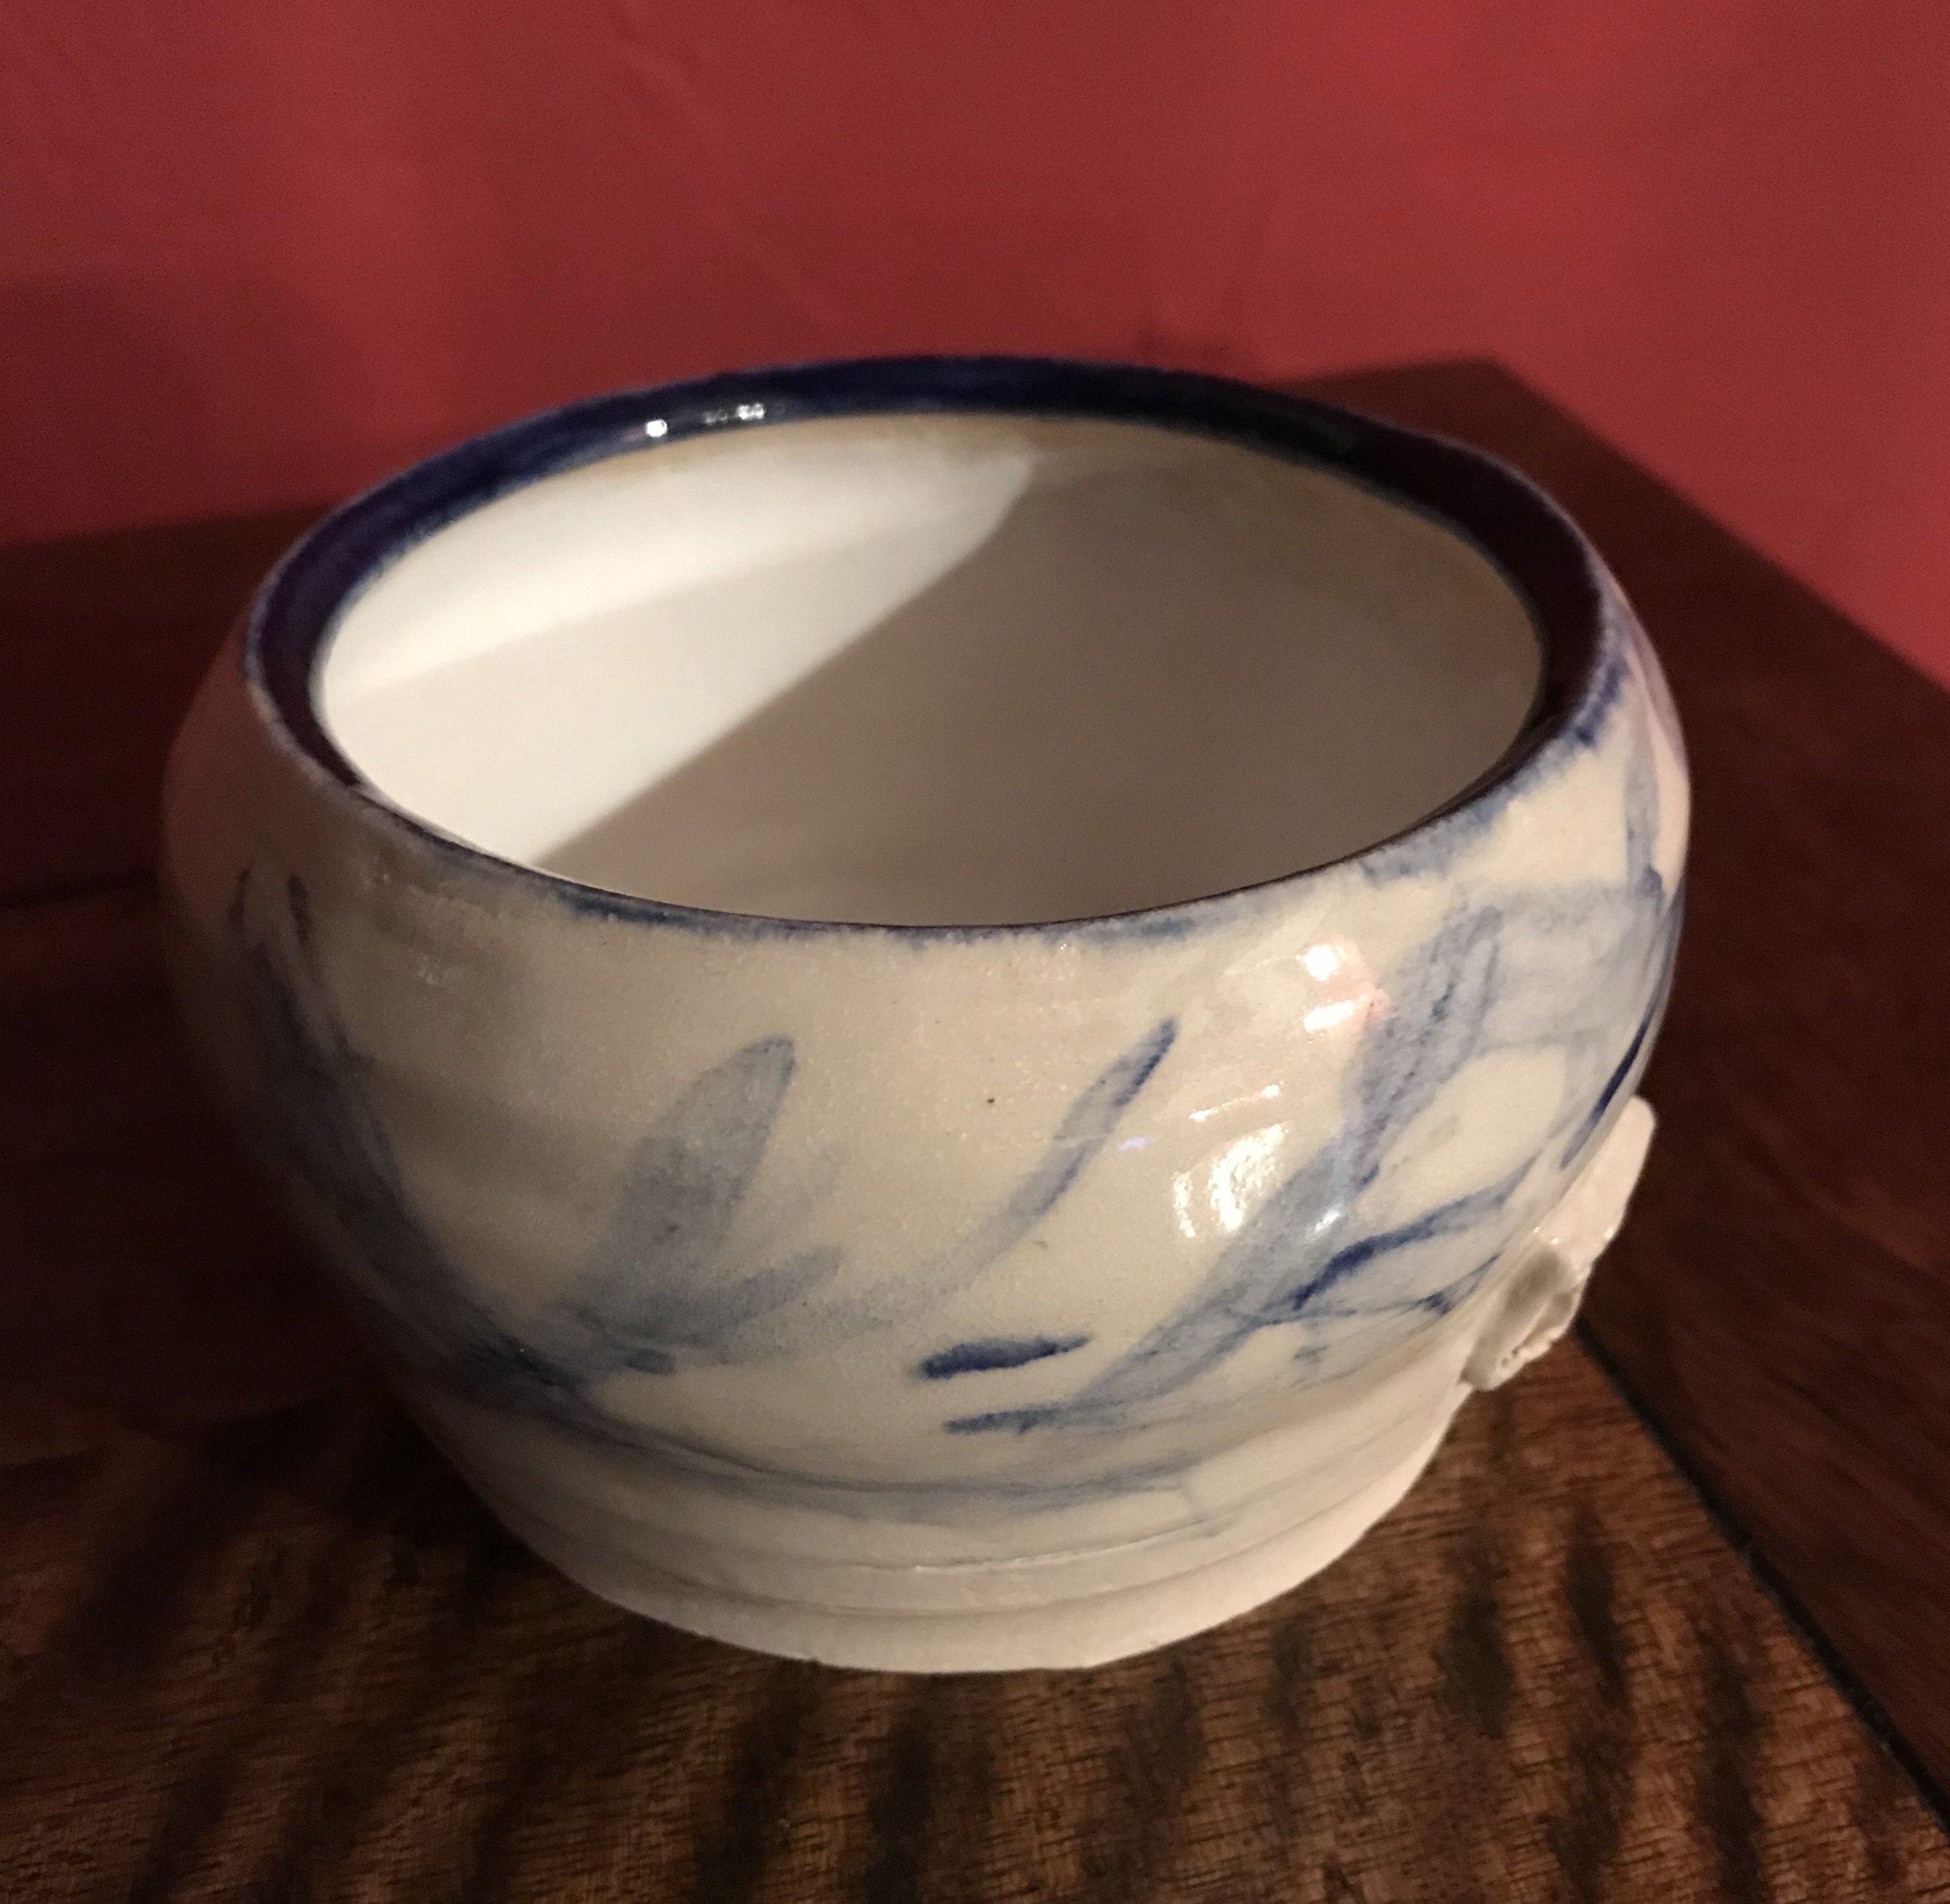
A kitchen waste pot, height 14 cm x Ø14 cm in stoneware. Body, hand built and finished on the wheel with a wheel-thrown lid, ground down to fit!

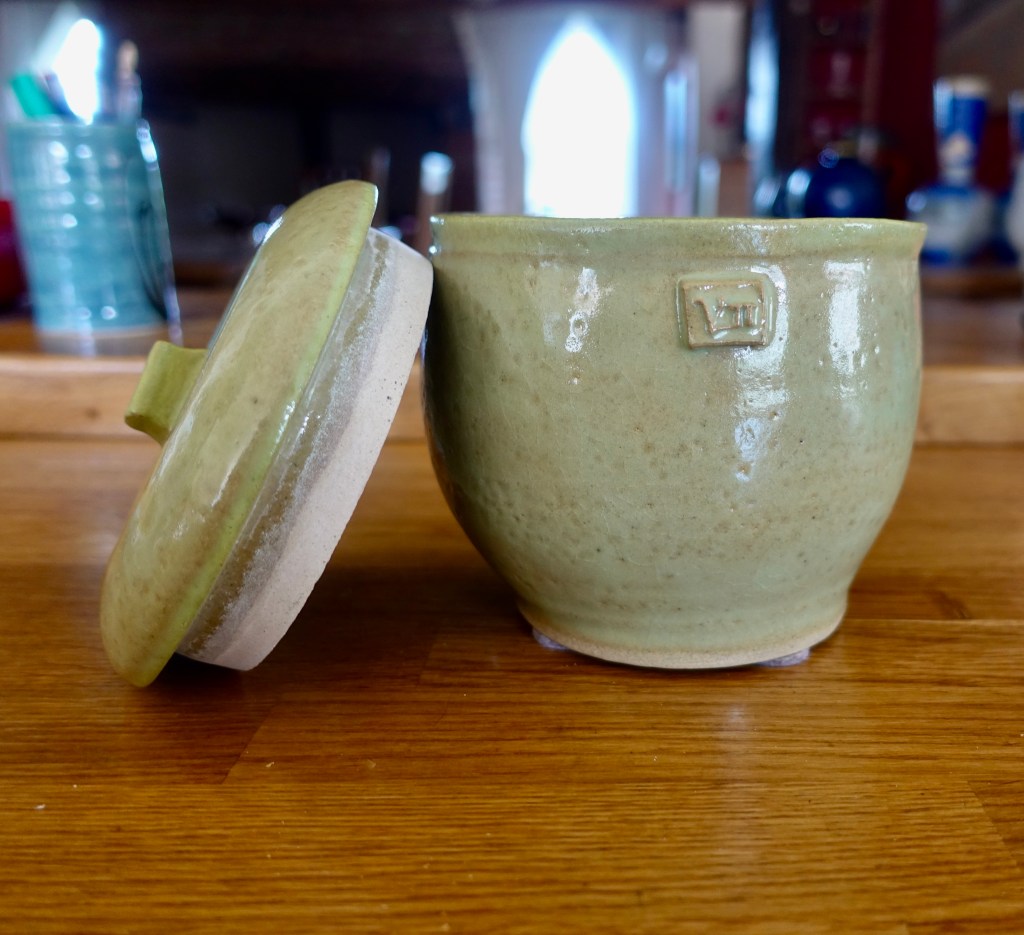
The triumph was that this piece was made entirely from recycled clay but that statement belies a number of disasters which, not being quite true to my original vision for the site, I have so far failed to record! So there is a full bucket of clay for recycling from work which never made it to the kiln and in fact, my first attempt to throw the lid ended up back in the bin. The second attempt went well enough but I hadn’t allowed for the slight deformation of the main body of the pot and perhaps it’s greater shrinkage. When the two pieces came out of the kiln the lid was too big and it took several hours to grind down both the lid and the body to get them to fit together.
The glaze is a semi-transparent stoneware glaze with an underglaze around the rim of the lid and pot. The glaze has crazed and I am yet to learn how to prevent this